 Save
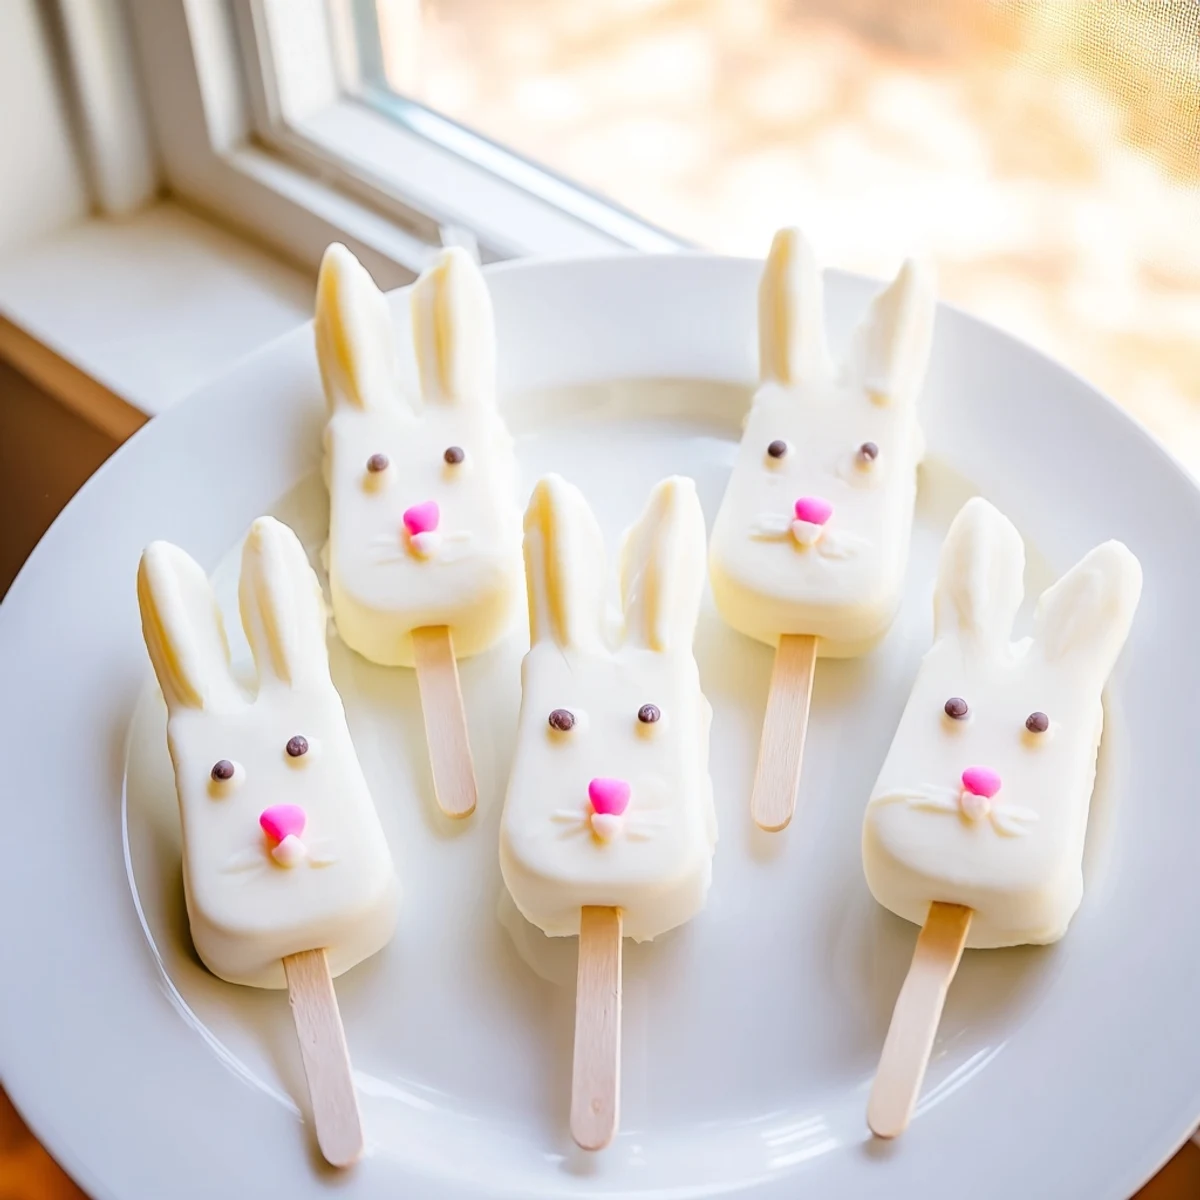
Save These delightful bunny-shaped cakesicles combine moist vanilla cake with a rich white chocolate coating, creating the perfect festive treat for your Easter celebration. The cake mixture blends vanilla crumbs with cream cheese, butter, and powdered sugar for a dough that holds its shape beautifully. After forming cute bunny faces and chilling, each treat gets dipped in melted white chocolate and decorated with candy eyes, sprinkles, or fondant details.
The preparation takes about 25 minutes, with an additional 30 minutes for coating and decorating. You'll end up with eight charming cakesicles that are sure to delight both children and adults. Customize the decorations with different colored food coloring for ears and noses, or experiment with various cake flavors like chocolate or lemon for variety.
These treats are easy to make and perfect for getting creative in the kitchen. Store them in the refrigerator for up to three days, though they're so delicious they might disappear much faster!
Last Easter, my kitchen became what I affectionately called the bunny factory after my niece spotted these online and refused to accept anything else for dessert. The best part was watching her carefully position each candy eye, convinced that the slightly crooked ones had more personality.
I learned the hard way that cake popsicles are actually more forgiving than traditional round pops. When my first batch came out slightly lopsided, I just declared them artistic bunnies with character, and honestly, nobody questioned it.
Ingredients
- Vanilla cake crumbs: The texture needs to be fine but not pulverized, slightly larger than sand grains for the best structure
- Cream cheese: This is the magical binder that holds everything together without making the mixture too sweet or heavy
- White chocolate: I prefer candy melts over actual white chocolate because they set firmer and create that gorgeous flawless finish
- Cakesicle sticks: Insert these at an angle rather than straight down for better balance when the chocolate sets
Instructions
- Prepare the cake mixture:
- Mix everything with your hands, warming slightly from your touch, until it holds together when squeezed but still feels light and crumbly
- Shape the bunnies:
- Work quickly with portions about the size of golf balls, flattening into ovals and gently tapering one end for what will become the bunny face
- Add the sticks:
- Dip about half an inch of each stick into melted chocolate first, then insert into the cake shapes, as this acts as glue when chilled
- Chill thoroughly:
- Twenty minutes in the fridge makes all the difference between cakesicles that hold together and ones that slide tragically down their sticks
- Melt the coating:
- Work in thirty second intervals, stirring between each, and stop when there are still a few lumps visible as they will melt from residual heat
- Dip and tap:
- Lower each cake straight down into the chocolate, pull up in one smooth motion, then tap your wrist gently against the bowl edge to remove excess
- Decorate immediately:
- The white chocolate sets fast, so have all your decorations open and ready before you start dipping
 Save
Save My neighbor now requests these every spring, and I have to admit there is something deeply satisfying about pulling a perfectly lined tray of bunny faces from the fridge. Last year we made them into an activity station at our Easter gathering, letting kids decorate their own.
Working With White Chocolate
White chocolate is notoriously finicky and can seize with just a drop of water, so make absolutely sure your bowl and utensils are completely dry before starting. I keep a separate dry towel just for this purpose.
Getting Creative With Shapes
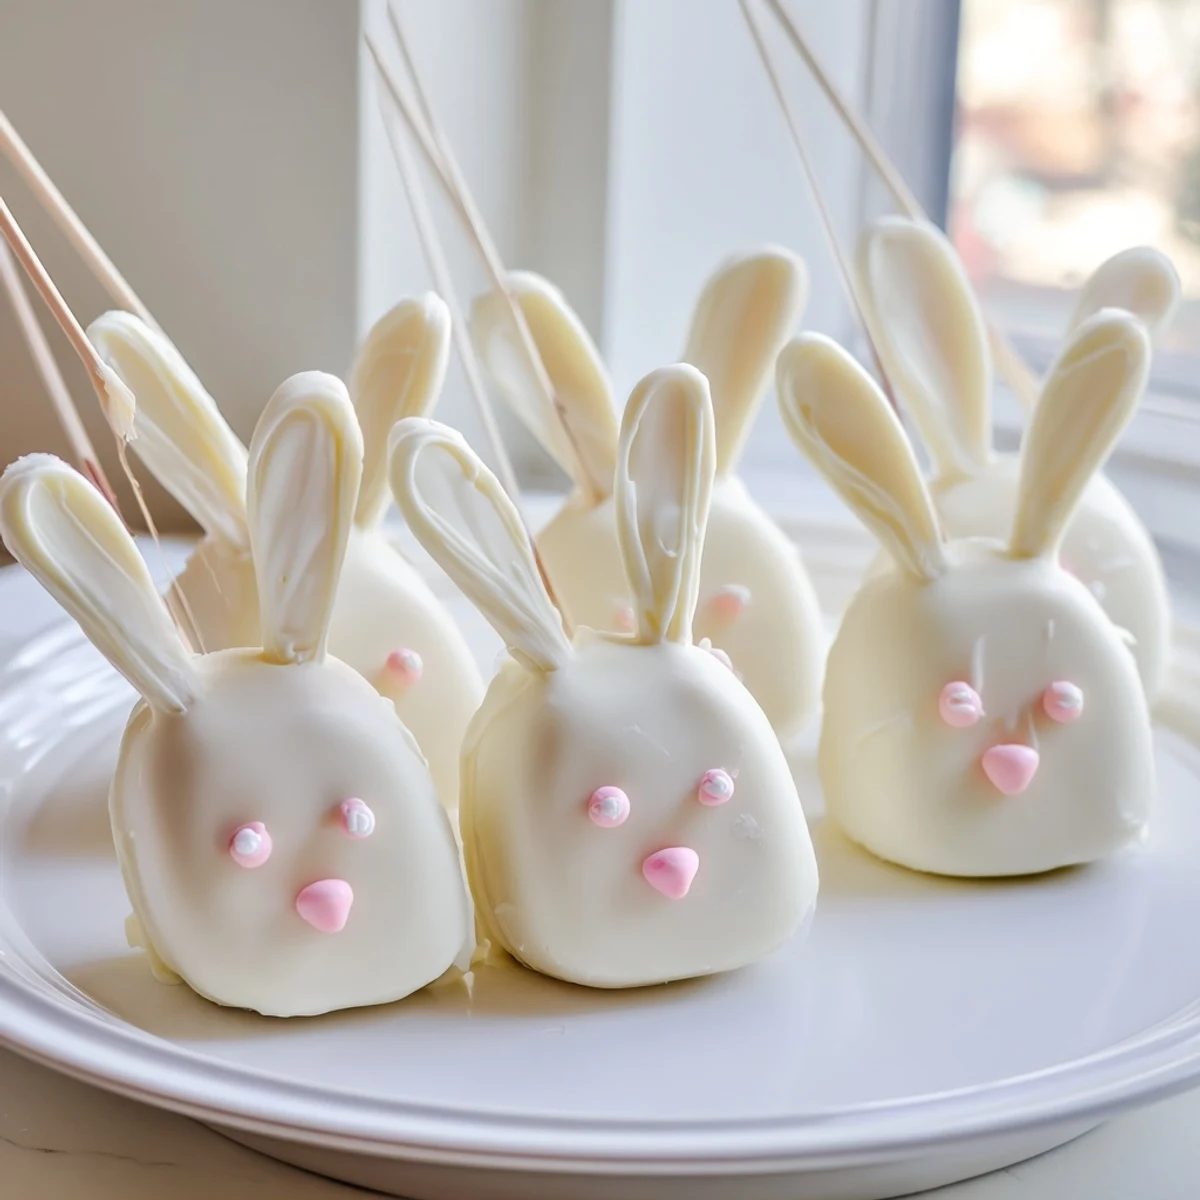
Beyond bunnies, these work beautifully as Easter eggs, lambs, or even little spring flowers. The key is keeping the shapes relatively flat and no more than an inch thick, ensuring the chocolate coating sets evenly.
Storage and Serving Tips
These actually improve after a day in the fridge as the flavors meld together and the texture becomes more fudge like. Serve them standing upright in a jar filled with jelly beans for the most adorable presentation.
- Let the decorated cakesicles set for at least two hours before packaging them up
- If giving as gifts, wrap each individually in clear bags tied with pastel ribbon
- Bring to room temperature about ten minutes before serving for the best texture
 Save
Save These bunny cakesicles have become one of those recipes I look forward to making all year long. There is something about seeing them lined up on the counter that makes everything feel more festive.
Frequently Asked Recipe Questions
- → How far in advance can I make these cakesicles?
-
You can prepare the cake mixture and shape the bunny faces up to 2 days ahead. Keep them refrigerated in an airtight container. Coat with chocolate and decorate within 24 hours of serving for the freshest appearance and texture.
- → What's the best way to melt white chocolate without seizing?
-
Melt in short 30-second bursts in the microwave, stirring thoroughly between each interval. Use a completely dry bowl and utensils, as even a tiny amount of moisture can cause the chocolate to seize. If it becomes too thick, add 1 teaspoon of vegetable oil to smooth it out.
- → Can I use store-bought cake instead of homemade?
-
Absolutely! Store-bought cake or cupcakes work perfectly. Simply crumble them into fine pieces and proceed with the recipe. This is a great way to use up leftover birthday cake or bakery items that might otherwise go to waste.
- → Do I need a special cakesicle mold?
-
No mold is required—you can shape the mixture by hand into flattened ovals or bunny face shapes. However, a mold does help create uniform sizes and makes the process faster, especially if you're making a large batch for a party.
- → How should I transport these to a party?
-
Place each cakesicle in a clear treat bag tied with a ribbon, or stand them upright in a sturdy container with foam or styrofoam to hold the sticks in place. Keep them cool during transport, especially in warm weather, as the chocolate coating can soften.
- → Can I make these chocolate instead of white chocolate?
-
Yes! Milk, dark, or semi-sweet chocolate all work beautifully. You might want to adjust the decoration colors accordingly—pastel sprinkles show up nicely on both white and dark chocolate coatings. The dipping method remains exactly the same.