 Save
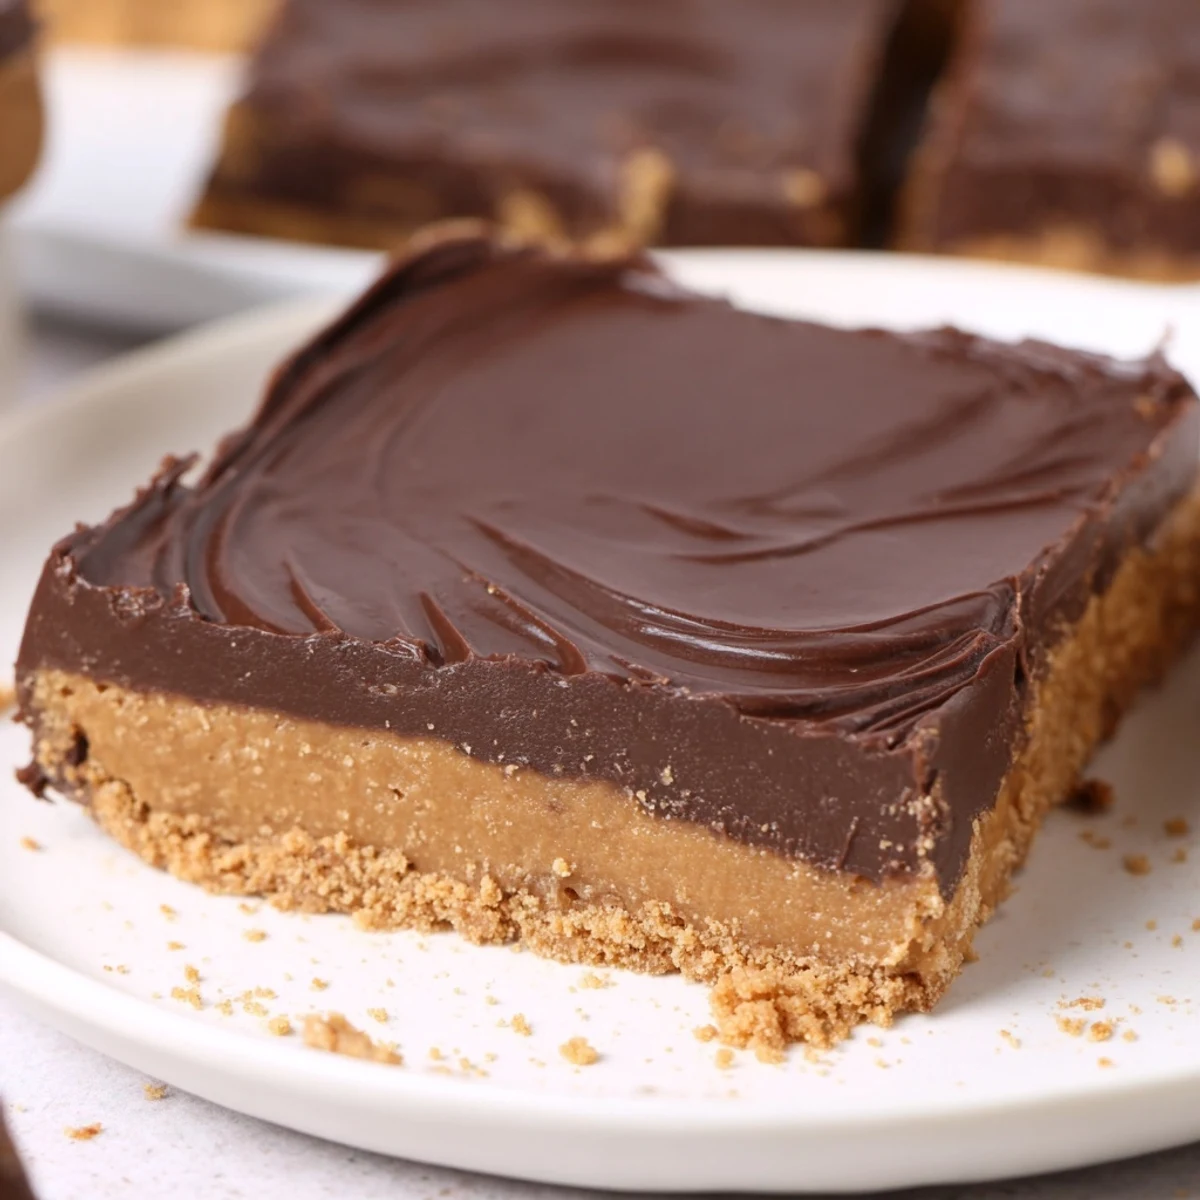
Save These no-bake peanut butter bars combine a buttery base of creamy peanut butter, melted butter, powdered sugar and graham cracker crumbs pressed into an 8x8 pan. A melted chocolate and peanut butter topping is poured over, then chilled for at least two hours until firm. Makes 16 squares. Variations include chunky peanut butter, chopped peanuts, or gluten-free cookie crumbs; store chilled up to one week.
The first time I made these No Bake Peanut Butter Bars, the kitchen was buzzing with laughter as my roommate and I tried to beat the summer heat without touching the oven. The smell of peanut butter mixed with chocolate filled the air, mingling with the sound of clinking spoons and our relentless taste testing. It was one of those afternoons where the treat came together between stories and spills rather than strict precision. Sometimes the best desserts are born out of a need for something quick, cool, and a little bit nostalgic—without any fuss.
I remember making these bars for a picnic by the lake on a sunny spring day, and realizing half the batch disappeared before we even packed up the basket. Our friends kept sneaking back into the kitchen, noses leading them to the sweet aroma wafting from the fridge, each sampling a small square with contented grins. The bars became the unofficial reward for enduring my never-ending karaoke playlist. When a dessert doesn't require much effort and makes people linger, you know it's a keeper.
Ingredients
- Creamy peanut butter: Smooth peanut butter is the star here for that melt-in-your-mouth bite; just give it a good stir if any oil has separated on top.
- Unsalted butter, melted: Melted butter gives the base its rich taste and helps everything come together—don't skip letting it cool slightly so your hands don't get too sticky.
- Powdered sugar: This dissolves perfectly for a fudge-like consistency, and I've learned sifting it in prevents any mystery lumps.
- Graham cracker crumbs (or digestive biscuit crumbs): These form the crunch factor; a food processor or a good old zip-top bag and rolling pin does the trick for even crumbs.
- Vanilla extract: Just half a teaspoon adds warmth and depth—I've accidentally added more before and it made the flavor surprisingly cozy.
- Semi-sweet chocolate chips: They melt down glossy and smooth, balancing the peanut butter’s sweetness; microwave in short bursts for best results.
- Creamy peanut butter (for topping): A swirl in the chocolate topping makes for a luscious finish—it’s my secret for an extra decadent layer.
Instructions
- Prepare your pan:
- Line an 8x8 pan with parchment paper, leaving a little overhang for easy lifting later—it'll make those edges neat when you slice.
- Mix the base:
- In your biggest bowl, stir together melted butter and peanut butter till totally combined; the mixture will smell incredible at this point.
- Combine the dry ingredients:
- Add powdered sugar and graham cracker crumbs, then vanilla, mixing until it forms a thick, slightly crumbly dough—don't worry, that's perfect.
- Press into the pan:
- Spoon the dough in and press it down firmly with a spatula (or your hands if you want to get cozy); smoothing the top is oddly satisfying.
- Melt the topping:
- In a microwave-safe bowl, combine chocolate chips with that last bit of peanut butter, microwaving in 30-second spurts and stirring until it's silky smooth.
- Spread and chill:
- Pour the chocolate mixture evenly over the base, using your spatula to coax it into every corner—then pop it into the fridge for at least 2 hours until set.
- Slice and share:
- Lift the giant bar out by the parchment handles, slice into squares, and try not to eat them all before anyone else gets a chance.
 Save
Save There was a rainy evening where a batch of these bars became our centerpiece for a spontaneous indoor movie night—everyone ended up wrapped in blankets with a cold square in hand, happiness in each bite. That’s the magic: these bars have a knack for turning ordinary days and unexpected downtime into something just a little more memorable.
How to Customize Your Bars
Sometimes I like tossing in a handful of chopped roasted peanuts for texture or switching up the graham crackers with oat cookies when I’m feeling experimental. A drizzle of white chocolate over the top also gets rave reviews from peanut butter lovers—just make sure the topping is set before adding anything extra. Tailoring the recipe has become half the fun and a great excuse to use up whatever’s lurking in the pantry.
Storage and Freshness
These bars keep beautifully in an airtight container in the fridge for a whole week—although they rarely last that long at my place. For an extra chilled bite, stash a few in the freezer and eat them slightly frozen as a midnight treat. Just let them warm up for a minute on the counter so the chocolate doesn't shatter when you bite in.
Troubleshooting: When Bars Misbehave
I've over-mixed the base before and ended up with a crumbly mess, so a gentle hand is worth remembering here. Spreading the chocolate while it's still very warm helps it settle smoothly, but don't rush—if the base is too soft, things get sticky fast. There's comfort in the imperfections, though, and every so-called disaster still tastes fantastic.
- If you're in a rush, pop the pan in the freezer to speed up setting, but keep an eye on the texture.
- For clean cuts, use a sharp knife dipped in hot water and wiped dry between slices.
- Always check labels for allergens, especially when serving others or using substitute cookies.
 Save
Save Sharing these bars always draws smiles and second helpings, no matter the company. Here’s to simple sweets that make every moment a little brighter.
Frequently Asked Recipe Questions
- → Can I make these without peanuts?
-
Yes—swap sunflower seed butter or almond butter for peanut butter and adjust sweetness to taste. Texture may vary slightly, so add a touch more powdered sugar or crumbs if the base feels too soft.
- → How long should I chill them before cutting?
-
Chill for at least 2 hours until fully set. For cleaner slices and a firmer bite, refrigerate overnight before cutting into 16 bars.
- → What's the best way to melt the chocolate topping?
-
Use short microwave bursts (30 seconds), stirring between intervals until smooth, or melt gently over a double boiler to prevent scorching. Stir in the extra peanut butter once melted for a glossy finish.
- → How can I make the base firmer?
-
Increase graham cracker crumbs slightly or press the base firmly and refrigerate longer. Reducing the ratio of peanut butter to crumbs or adding a few extra tablespoons of powdered sugar will also firm the mixture.
- → Can I add texture or mix-ins?
-
Yes—use chunky peanut butter, fold in chopped roasted peanuts, or sprinkle chopped nuts on top before chilling for added crunch and flavor contrast.
- → What is the best storage method and shelf life?
-
Store bars in an airtight container in the refrigerator for up to one week. For longer storage, freeze tightly wrapped bars for up to three months; thaw in the fridge before serving.