 Save
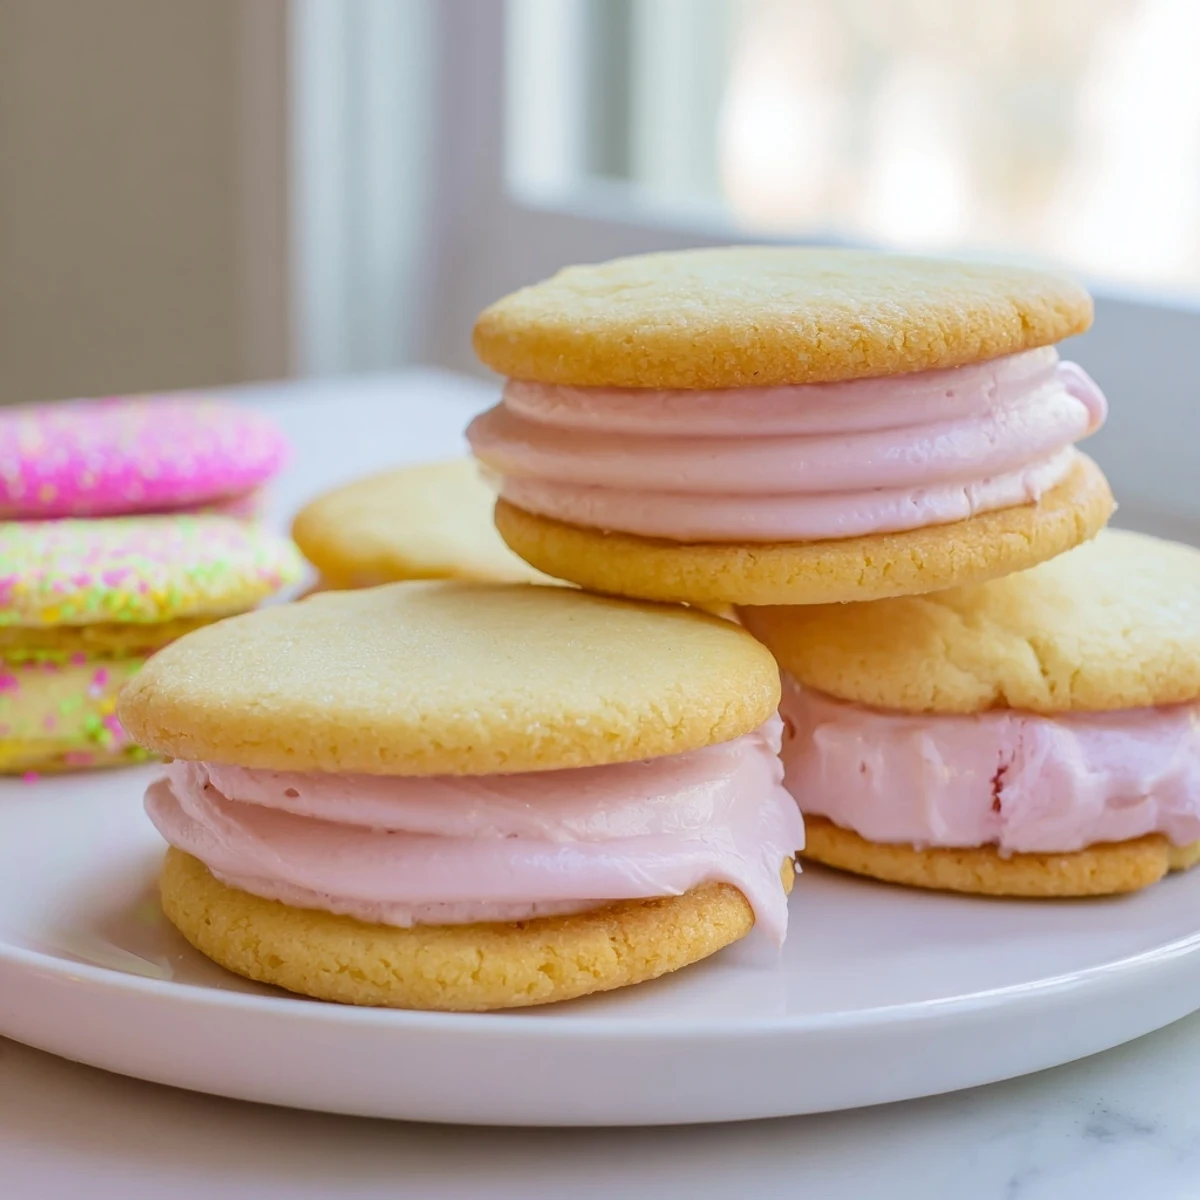
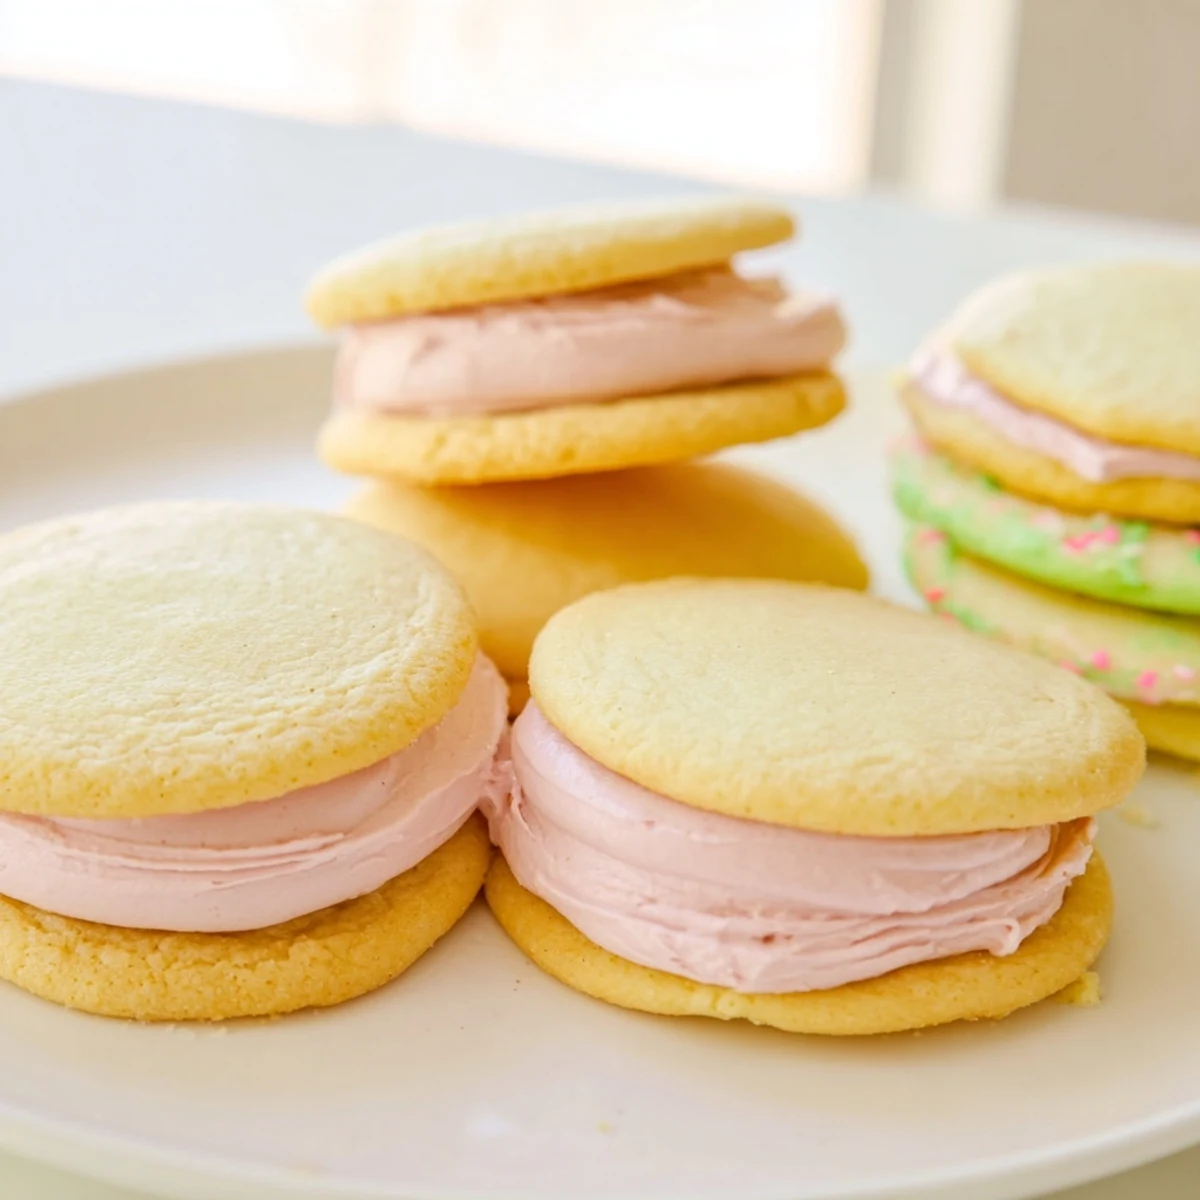
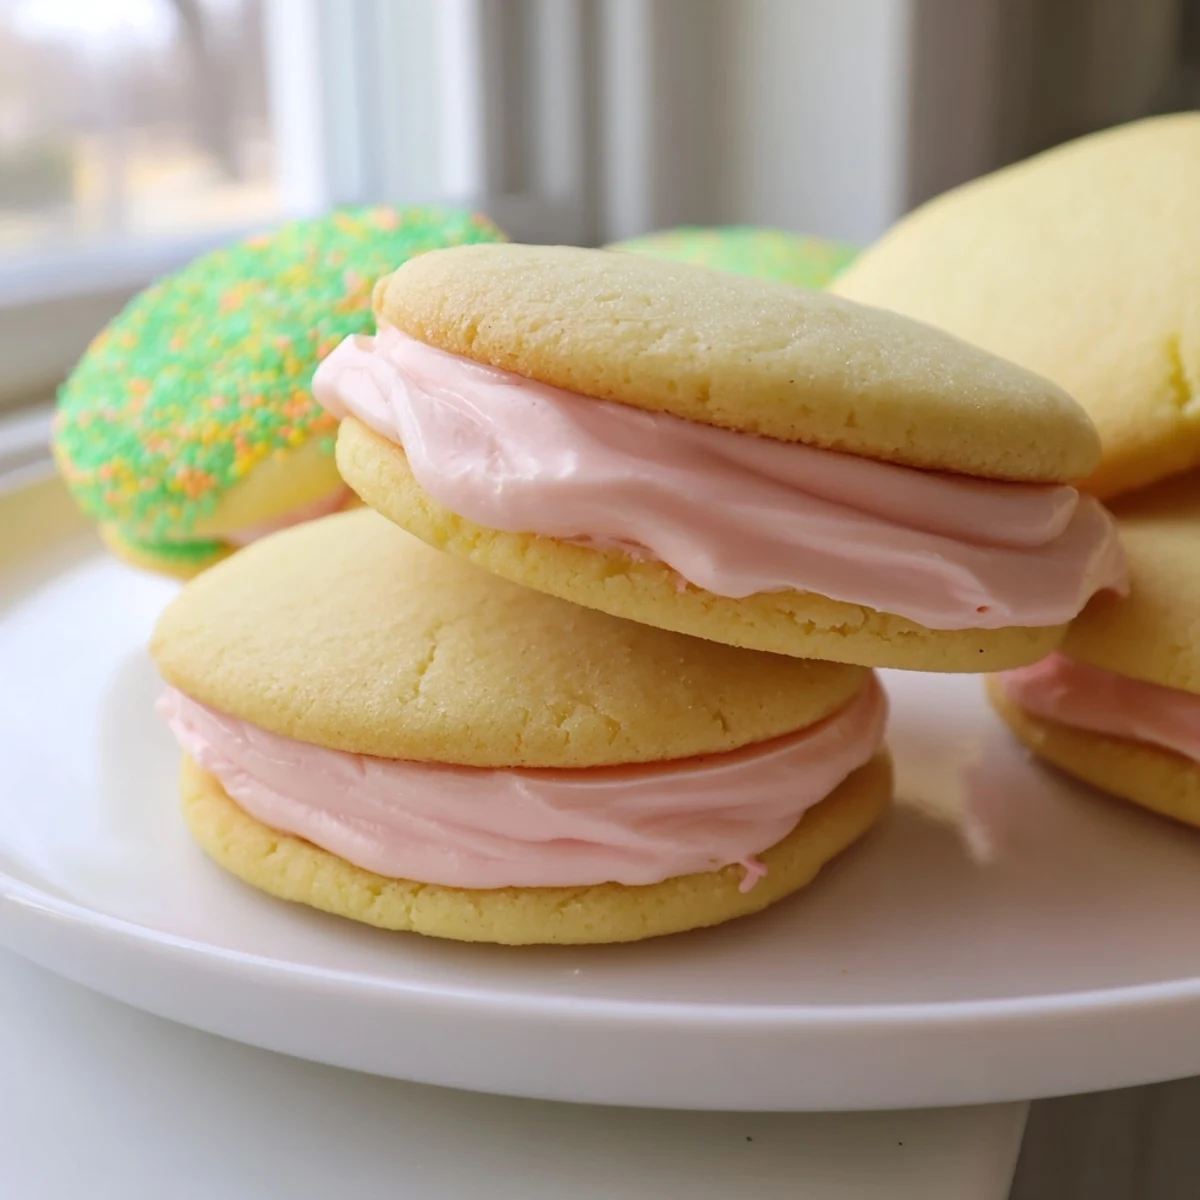
Save These delightful sandwich cookies feature tender, melt-in-your-mouth sugar cookies paired with fluffy pastel buttercream in soft shades of pink, yellow, green, blue, or purple. The dough requires chilling for proper texture, making these perfect for prep-ahead baking. Each bite delivers a satisfying crunch from the cookies followed by the creamy, sweet filling. Customizable with various extracts and sprinkle finishes, these charming treats bring a touch of whimsy to any spring celebration, bridal shower, or elegant afternoon tea service.
The first time I made these cookies was for a surprise baby shower last spring. I had this vision of pastel clouds sitting on the dessert table, something that looked like it belonged in a storybook. When they came out of the oven, perfectly round and waiting to become something magical, I knew these were going to be special.
My niece helped me tint the frosting that day, her hands covered in pink and blue gel dye. She kept sneaking tastes of the plain buttercream before we divided it up, declaring it the best thing shed ever eaten. Those memories of her carefully spreading frosting with a tiny spatula are why I always make these now when spring arrives.
Ingredients
- 2 ½ cups all purpose flour: Spoon and level this instead of scooping directly, it keeps the cookies tender
- ½ teaspoon baking powder: Just enough for a subtle lift without making them too cakey
- ¼ teaspoon salt: Balances all that sweetness beautifully
- ¾ cup unsalted butter room temperature: Leave it out for at least an hour, this makes all the difference for creaming
- 1 cup granulated sugar: Cream this thoroughly with the butter, dont rush this step
- 1 large egg: Bring this to room temperature too so it incorporates smoothly
- 1 teaspoon pure vanilla extract: Use the good stuff here, it shines through
- ½ cup unsalted butter room temperature: For the filling, again give it time to soften properly
- 2 cups powdered sugar sifted: Sifting is annoying but prevents lumpy frosting
- 1 ½ tablespoons milk: Add this slowly until you reach your desired consistency
- 1 teaspoon pure vanilla extract: Same pure extract as the cookies ties everything together
- Pinch of salt: Cuts through all that butter and sugar
- Pastel gel food coloring: Gel gives you vibrant color without adding liquid like traditional dyes
Instructions
- Whisk the dry foundation:
- In a medium bowl, combine the flour, baking powder, and salt until everything is evenly distributed. Set this aside where it will be ready when you need it.
- Cream butter and sugar:
- Beat the butter and sugar on medium speed for 2 to 3 minutes until the mixture looks pale and fluffy. This step creates air pockets that make the cookies tender.
- Add egg and vanilla:
- Drop in the egg and vanilla extract, mixing until everything is fully incorporated and the batter looks smooth and glossy.
- Combine with dry ingredients:
- Gradually add the flour mixture, mixing just until the flour disappears. Overmixing here makes tough cookies, so stop as soon as it comes together.
- Chill the dough:
- Divide the dough in half, flatten into discs, wrap in plastic, and refrigerate for at least 30 minutes. This firmness is essential for clean cutouts.
- Prepare for baking:
- Preheat your oven to 350°F and line two baking sheets with parchment paper. Having everything ready before you roll prevents sticking and frustration.
- Roll and cut:
- Roll one disc to ¼ inch thickness on a floured surface, cut 2 inch rounds, and place them 1 inch apart on the sheets. Keep the other disc chilled while you work.
- Bake to perfection:
- Bake for 8 to 10 minutes until the edges just start turning golden. Let them cool on the sheets for 2 minutes before moving them to racks completely.
- Make the buttercream:
- Beat the butter until creamy, then slowly add the powdered sugar, milk, vanilla, and salt. Whip until smooth and fluffy, about 2 minutes.
- Create pastel magic:
- Divide the buttercream into small bowls and tint each with a different pastel color. Start with a tiny amount of gel, you can always add more.
- Assemble the sandwiches:
- Spread or pipe frosting onto the flat side of half the cookies, then top with remaining cookies. Press gently so the filling reaches the edges.
- Let them set:
- Allow the assembled cookies to rest for 20 minutes so the buttercream firms up slightly. This makes them easier to handle and serve.
 Save
Save These have become my go to for whenever life calls for something that feels like a celebration but tastes like home. Something about biting into those pastel layers just makes everything feel lighter and more hopeful.
Getting The Right Consistency
I learned through many batches that the buttercream needs to be stiff enough to hold its shape but soft enough to squish slightly when you bite down. If your frosting feels too stiff, add milk just ¼ teaspoon at a time. Too soft and it will ooze out the sides, so add more powdered sugar gradually.
Making Them In Advance
You can make the cookie dough up to three days ahead and keep it wrapped in the refrigerator. The baked cookies freeze beautifully for up to a month, just thaw them completely before filling. I always assemble these the same day I plan to serve them for the freshest texture.
Customizing Your Colors
Spring pastels are classic, but these work for any season or occasion with the right color palette. Think deep burgundy and gold for fall celebrations, or varying shades of white for elegant winter weddings.
- Use gel food coloring sparingly, a tiny dab goes surprisingly far
- Let the assembled cookies set for at least 20 minutes before stacking them
- Roll edges in sprinkles immediately after assembling while the frosting is still tacky
 Save
Save May your kitchen be filled with flour dusted counters and the kind of laughter that only happens when frosting is involved. These cookies are meant to be shared, preferably with someone who appreciates a perfectly piped swirl.
Frequently Asked Recipe Questions
- → How long should I chill the cookie dough?
-
Refrigerate the dough for at least 30 minutes before rolling. This step is crucial as it prevents the cookies from spreading too much during baking and helps maintain their shape. You can chill the dough discs for up to 2 days if you want to prepare them in advance.
- → Can I make the buttercream ahead of time?
-
Yes, prepare the buttercream up to 2 days ahead and store it in an airtight container at room temperature. Give it a quick whip with your mixer before using to restore the fluffy texture. Add the food coloring just before assembling the cookies for the freshest appearance.
- → What's the best way to achieve even pastel colors?
-
Start with a tiny amount of gel food coloring—literally a drop or less on a toothpick. Gel colors are highly concentrated, so it's easier to add more than to fix an overly dark shade. Mix thoroughly and add gradually until you reach your desired pastel hue.
- → How do I prevent the cookies from spreading too much?
-
Properly chilling the dough is key, as is using room-temperature ingredients when creaming the butter and sugar. Work with one dough disc at a time, keeping the other chilled. Roll the dough to an even ¼-inch thickness and avoid overworking it.
- → Can I freeze the assembled sandwiches?
-
For best texture, freeze the unfilled baked cookies and buttercream separately. The cookies freeze well for up to 3 months in freezer-safe containers. Thaw at room temperature, then assemble with freshly prepared or thawed buttercream for optimal results.