 Save
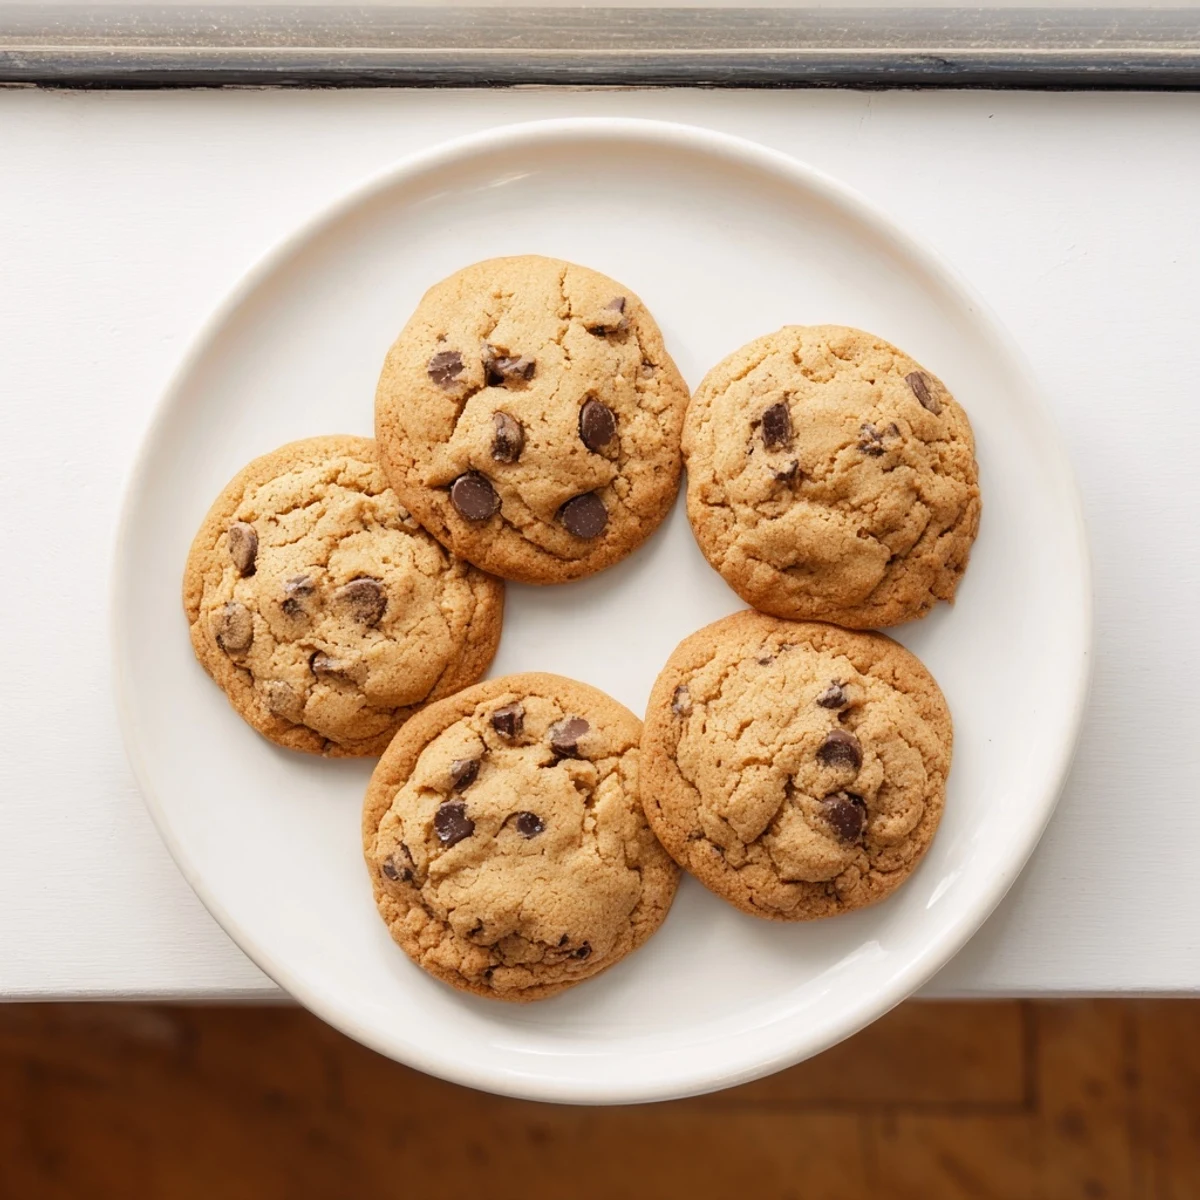
Save These soft and chewy chocolate chip cookies deliver everything you love about classic treats, minus the nuts. The dough comes together quickly with basic pantry ingredients, resulting in perfectly golden edges and tender centers. Each bite is loaded with nut-free semi-sweet chocolate chips that melt beautifully throughout.
Chilling the dough for 30 minutes enhances the chewy texture, though you can bake them immediately if time is tight. The combination of butter, brown sugar, and vanilla creates that irresistible homemade flavor. With a yield of 24 cookies, they're ideal for sharing, lunchboxes, or keeping a stash on hand for whenever cravings strike.
Always verify your chocolate chips and ingredients are certified nut-free when preparing for someone with severe allergies. The versatility extends to substituting chocolate chips with nut-free white chocolate or dried fruits.
The smell of butter and sugar creaming together always pulls me into the kitchen, no matter what I was supposed to be doing. I discovered these nut-free chocolate chip cookies when my niece developed a nut allergy, and honestly they have become the most requested cookie in our house. Something about knowing everyone can safely grab one from the plate makes them taste even better.
Last summer I brought a batch to a potluck and watched my friend Sarah tentatively ask if they were safe for her son. The relief in her eyes when I said yes, completely nut-free, and then seeing him happily eating cookies alongside all the other kids that is exactly why this recipe lives in my regular rotation.
Ingredients
- All-purpose flour: The foundation that gives structure while keeping tender results
- Baking soda: Creates those perfect little cracks and spread we love in chocolate chip cookies
- Salt: Enhances chocolate flavor and balances sweetness
- Unsalted butter: Softened to room temperature for proper creaming technique
- Granulated sugar: Helps create crisp edges and structure
- Light brown sugar: The secret to chewy centers and that rich caramel flavor
- Eggs: Bind everything together while adding richness
- Pure vanilla extract: Do not skip this it makes all the difference in depth of flavor
- Nut-free semi-sweet chocolate chips: Use certified nut-free brands for peace of mind
Instructions
- Get your oven ready:
- Preheat to 350°F and line two baking sheets with parchment paper
- Mix the dry team:
- Whisk flour, baking soda, and salt in a medium bowl then set aside
- Cream the butter and sugars:
- Beat softened butter with both sugars until light and fluffy, about 2 to 3 minutes
- Add eggs and vanilla:
- Mix in eggs one at a time, then pour in vanilla extract
- Combine everything:
- Gradually stir in dry ingredients just until you no longer see white streaks
- Fold in the chocolate:
- Gently mix in chocolate chips with a spatula to avoid overworking the dough
- Scoop and space:
- Drop rounded tablespoons onto prepared sheets, leaving 2 inches between each cookie
- Bake to perfection:
- Bake 9 to 11 minutes until edges turn golden but centers still look slightly soft
- Cool completely:
- Let them rest on baking sheets for 5 minutes before moving to a wire rack
 Save
Save My neighbor texted me at 10pm one night desperate for a safe treat to bring to her daughters school next day. I walked over with a plate of these still slightly warm and she told me later they were the only homemade treat her allergic student could eat. That moment changed how I think about inclusive baking.
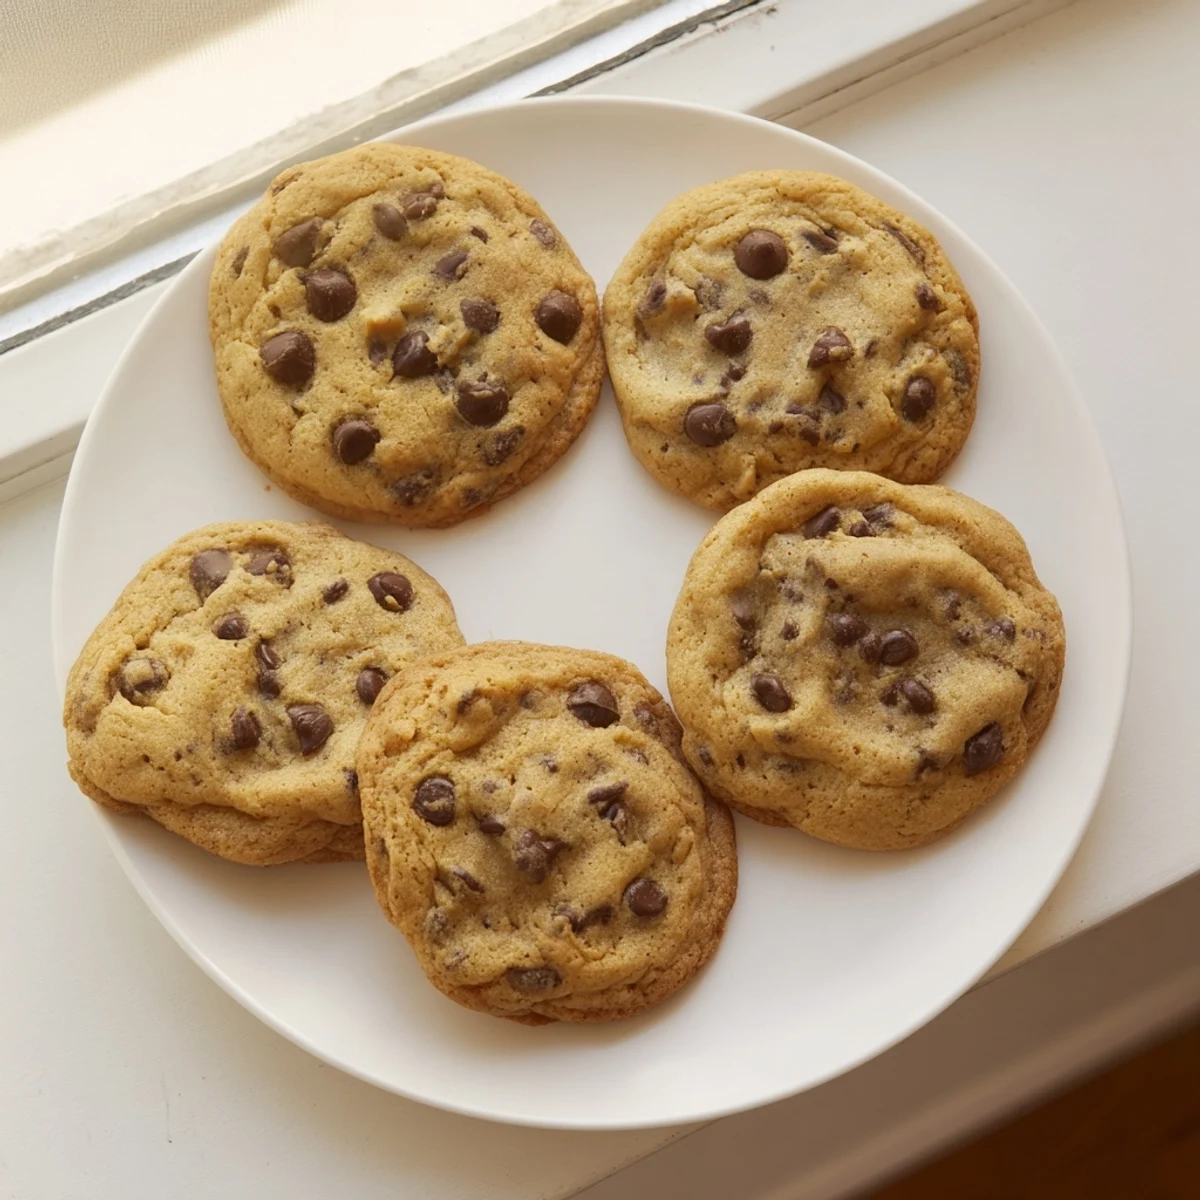
Making Them Extra Chewy
The trick I learned from years of cookie experimentation is slightly underbaking. When you pull them from the oven and the centers look soft and almost undone, trust the process. They continue cooking on the hot baking sheet and that residual heat creates the most incredible texture throughout.
Chocolate Chip Swaps
Sometimes I use nut-free white chocolate chips or even mix in dried cherries for something different. The key is keeping total mix-in volume around 2 cups so the cookie structure remains balanced. Feel free to experiment based on what your family loves most.
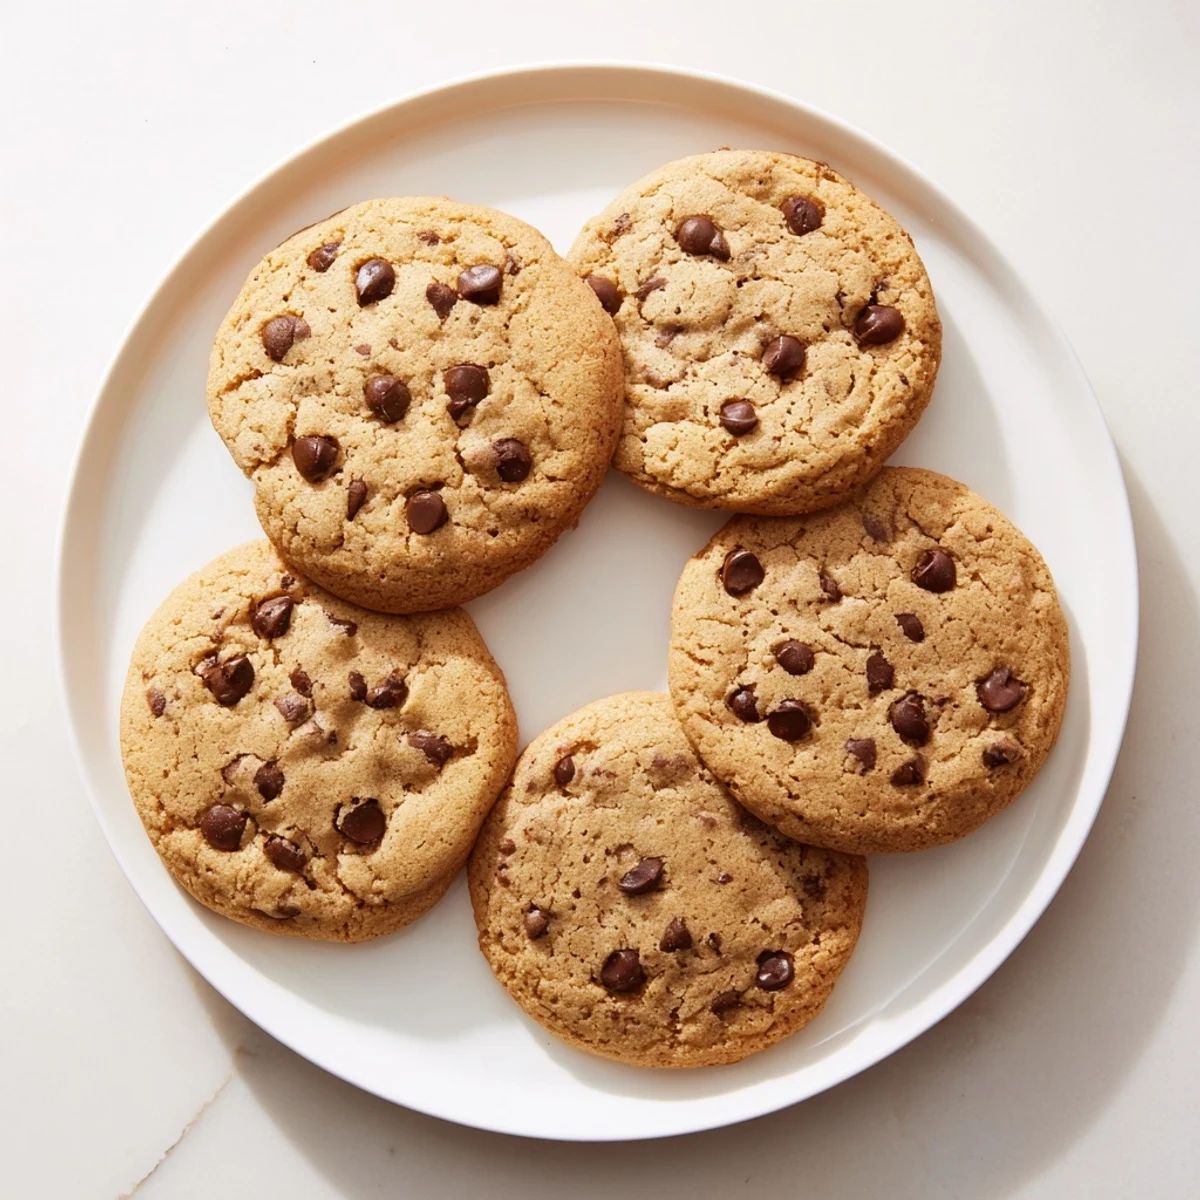
Storage and Freezing
These cookies stay fresh in an airtight container for up to 5 days, though they rarely last that long in my house. For longer storage, freeze baked cookies in freezer bags for up to 3 months or freeze scooped dough balls to bake fresh whenever cravings strike.
- Place a slice of bread in the container with cookies to keep them soft longer
- Thaw frozen dough in the refrigerator overnight before baking
- Always check chocolate chip labels even if you have used that brand before
 Save
Save There is something magical about pulling a tray of chocolate chip cookies from the oven and watching everyone migrate to the kitchen. Hope these become your new go-to recipe.
Frequently Asked Recipe Questions
- → What makes these cookies nut-free?
-
These cookies omit all nuts and nut-derived ingredients from the dough. The key is using certified nut-free chocolate chips and verifying that all ingredients, including flour and baking staples, haven't been processed in facilities with cross-contamination risks.
- → How do I achieve the perfect chewy texture?
-
Chilling the dough for 30 minutes before baking enhances chewiness. Also, removing cookies from the oven when edges are golden but centers still appear slightly soft ensures they set properly while remaining tender. The brown sugar and butter ratio contributes to that classic chew.
- → Can I freeze the dough or baked cookies?
-
Absolutely. Scoop the dough into balls and freeze in an airtight container for up to 3 months. Bake from frozen, adding 1-2 minutes to the baking time. Baked cookies freeze well for up to 3 months — thaw at room temperature for best texture.
- → What chocolate chip brands are nut-free?
-
Look for brands like Enjoy Life, which produces dedicated nut-free facilities. Many mainstream brands label their products as nut-free, but always read packaging carefully and call manufacturers if allergen safety is critical for your household.
- → Why do my cookies spread too much?
-
Excess spreading often results from warm dough or insufficient flour measurement. Ensure your butter is softened but not melted, and measure flour by spooning into the measuring cup and leveling off rather than scooping directly, which compacts the flour.
- → Can I make these dairy-free?
-
Yes — substitute the butter with a high-quality dairy-free butter alternative. Look for brands that mimic butter's fat content for best results. The texture remains remarkably similar, and the flavor stays delicious.