 Save
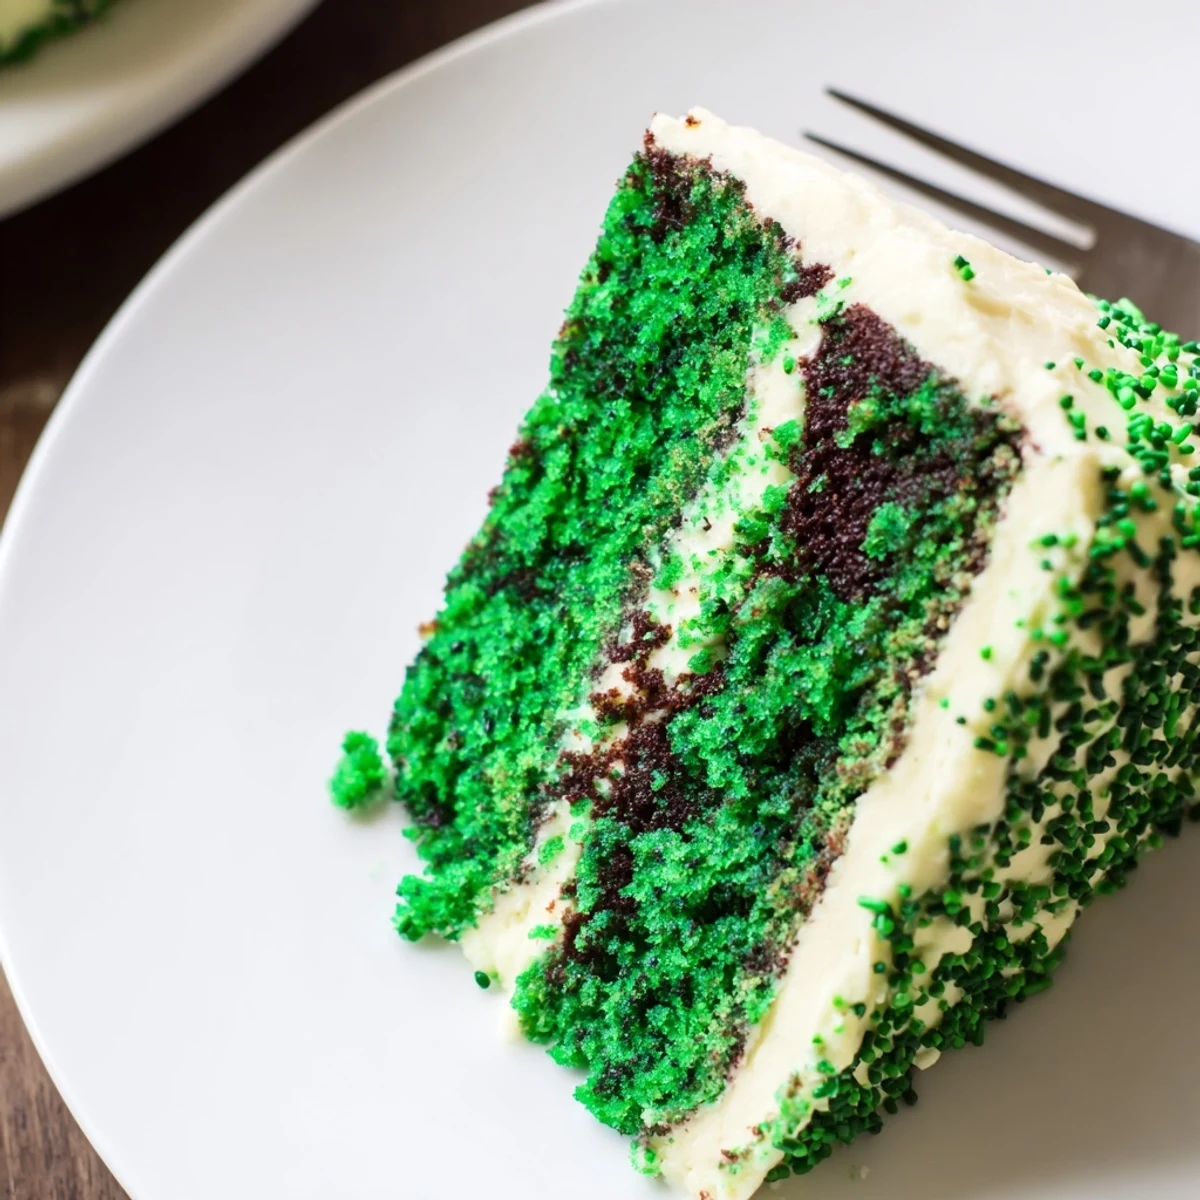
Save This stunning emerald cake delivers all the beloved qualities of classic red velvet with a vibrant seasonal twist. The tender crumb balances subtle cocoa undertones with traditional buttermilk tang, while generous cream cheese frosting adds rich decadence. Gel food coloring creates that signature jewel tone perfect for St. Patrick's Day or spring gatherings. The straightforward batter comes together quickly, requiring just 25 minutes of prep before baking to golden perfection.
The first time I made this green velvet cake, my kitchen looked like a science experiment gone wrong. I had green batter splattered on my apron, a streak of emerald across my forehead, and my husband walked in asking if I'd decided to take up abstract painting. But when that cake emerged from the oven—this stunning, jewel-toned beauty with the most tender crumb—I knew every messy moment was worth it. Now it's become our March tradition, the cake that signals spring is finally coming to shake off winter's gray.
Last year I brought this to a friend's St. Patrick's Day dinner, and I swear people were taking pictures before they even said hello. Someone asked if I'd used food coloring or if I'd discovered some magical natural ingredient. I let them wonder for a bit before sharing my secret. There's something about cutting into that emerald crumb that makes people feel like they're celebrating something special, even if it's just Tuesday.
Ingredients
- All-purpose flour: Provides the structure for that tender velvet crumb we're after
- Unsweetened cocoa powder: Just enough to give depth without overpowering the delicate flavor
- Baking soda: Helps the cake rise and gives it that characteristic velvet texture
- Salt: Enhances all the flavors and keeps the cake from tasting flat
- Granulated sugar: Sweetens while keeping the crumb moist and tender
- Vegetable oil: Creates that incredibly soft texture that velvet cakes are famous for
- Eggs: Room temperature eggs incorporate better for a more uniform batter
- Buttermilk: Adds tang and tenderness, plus reacts with baking soda for extra lift
- Vanilla extract: Pure vanilla makes all the difference in the final flavor
- White vinegar: Enhances the red velvet reaction and boosts the green color
- Green gel food coloring: Gel gives more intense color with less liquid than traditional drops
- Cream cheese: Make sure it's properly softened for silky smooth frosting
- Unsalted butter: Room temperature butter blends seamlessly into the frosting
- Powdered sugar: Sifting prevents lumps and gives you that perfectly smooth finish
Instructions
- Preheat your oven to 350°F and prep your pans:
- Grease and line two 9-inch round cake pans with parchment paper, ensuring your cakes will release perfectly later
- Whisk together the dry ingredients:
- In a medium bowl, combine flour, cocoa powder, baking soda, and salt until well blended
- Beat sugar and oil together:
- In a large bowl, mix until combined, then add eggs one at a time, mixing well after each addition
- Add the wet ingredients:
- Stir in buttermilk, vanilla extract, vinegar, and green food coloring, whisking until everything is evenly colored
- Combine everything gently:
- Add dry ingredients to the wet in two batches, mixing just until incorporated—overmixing makes tough cakes
- Divide and bake:
- Split batter evenly between prepared pans and bake for 28-32 minutes until a toothpick comes out clean
- Cool completely:
- Let cakes rest in pans for 10 minutes, then turn onto wire racks to cool completely before frosting
- Make the frosting:
- Beat softened cream cheese and butter until smooth, then add powdered sugar, vanilla, and salt until light and creamy
- Assemble your masterpiece:
- Place one layer on your serving plate, frost the top, add the second layer, and frost the entire cake
 Save
Save My youngest daughter now requests this for her birthday every year, completely ignoring the fact that it's in March. She says regular birthday cakes are boring compared to this magical green one. I've learned to keep a stash of green sprinkles in the pantry year round.
Making It Your Own
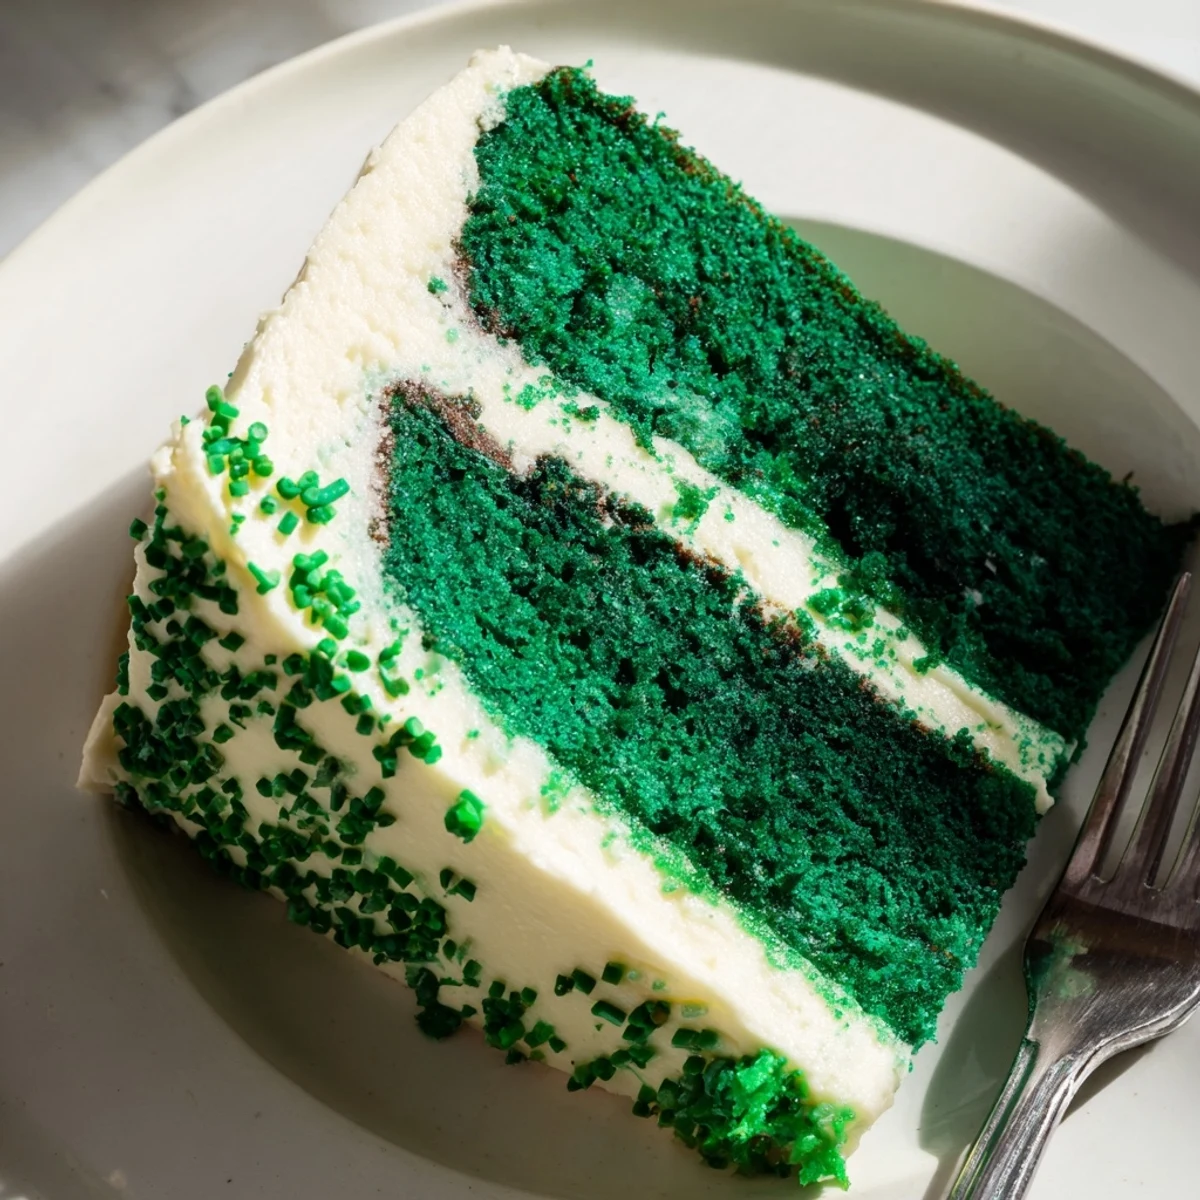
I've experimented with different shades of green over the years, from subtle mint to deep forest. The darker green feels more dramatic, but the lighter shade somehow tastes more delicate. Both work beautifully, so go with what calls to you.
Serving Suggestions
This cake pairs surprisingly well with coffee—the slight bitterness balances the sweet frosting beautifully. For evening gatherings, I've found that a crisp white wine or even a chilled moscato complements the cream cheese frosting perfectly.
Storage and Make Ahead Tips
The cake layers actually improve after a day in the fridge, becoming even more moist and tender. You can bake them up to two days ahead, wrap tightly in plastic, and frost when ready to serve.
- Frosted cake keeps well in the refrigerator for up to 4 days
- Unfrosted layers freeze beautifully for up to 3 months
- Bring refrigerated cake to room temperature for 30 minutes before serving
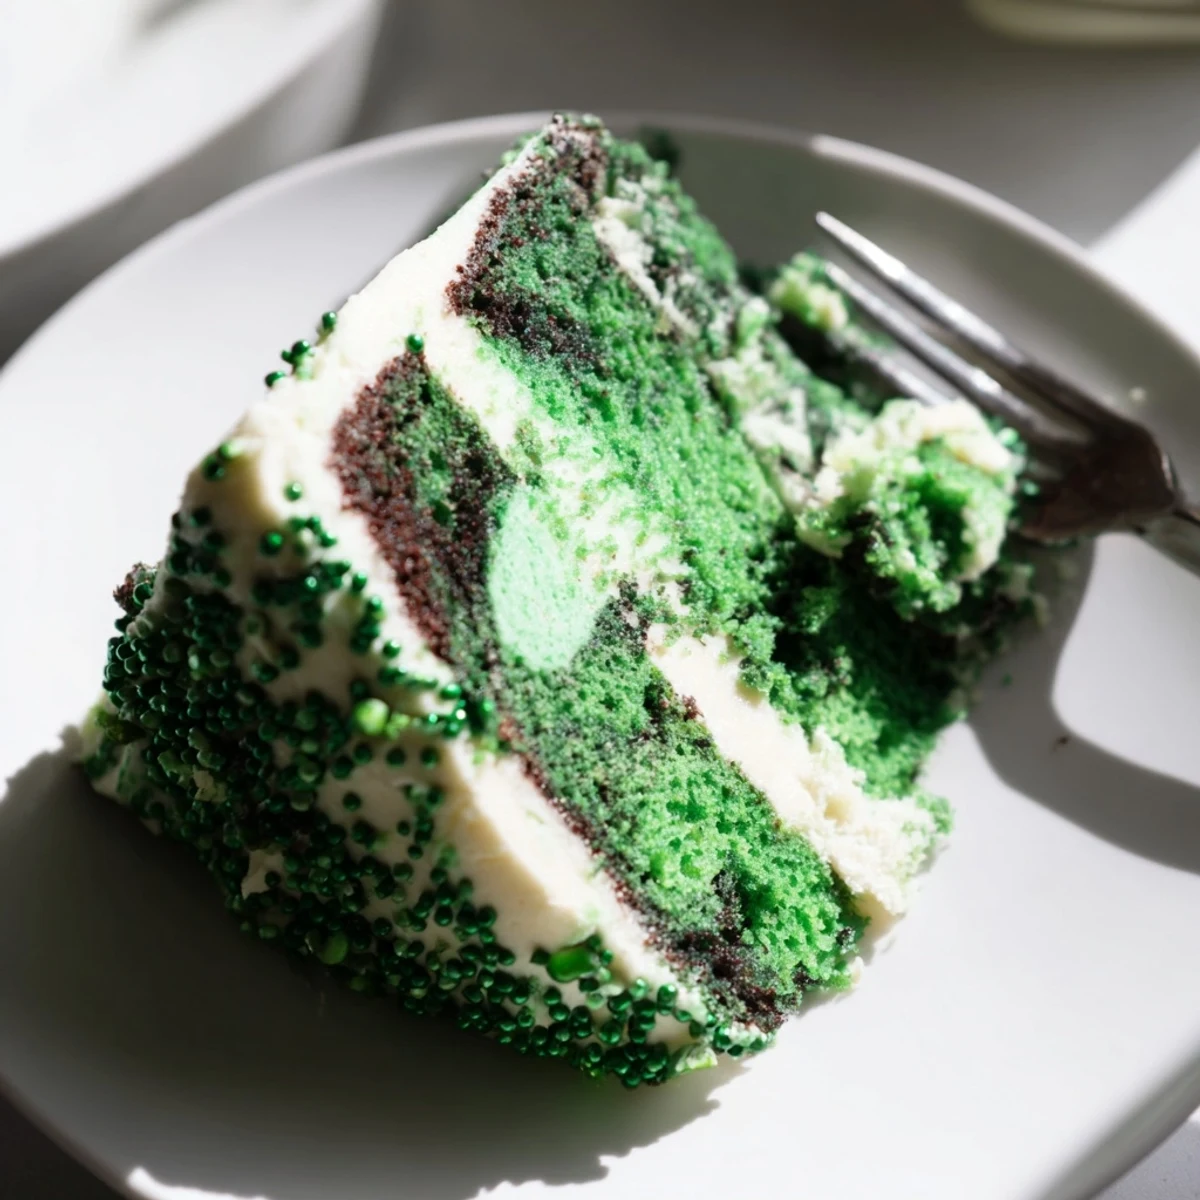 Save
Save There's something genuinely joyful about slicing into this cake and seeing that surprise of green against the white frosting. It's not just dessert—it's a celebration on a plate.
Frequently Asked Recipe Questions
- → What makes green velvet different from red velvet?
-
The primary difference is the food coloring used—green gel instead of red. Both share the same foundational ingredients including cocoa powder, buttermilk, and that signature tangy flavor profile from vinegar.
- → Can I use liquid food coloring instead of gel?
-
Liquid coloring works but requires significantly more quantity to achieve the same vibrant emerald shade. Gel coloring provides concentrated pigment without altering the batter consistency.
- → How should I store the finished cake?
-
Keep refrigerated in an airtight container for up to 5 days. The cream cheese frosting requires cool temperatures to maintain proper texture and prevent spoilage.
- → Can I make this ahead of time?
-
Bake layers up to 2 days in advance, wrap tightly, and refrigerate. Frost shortly before serving for optimal freshness, or complete the entire cake the day before.
- → What if I don't have buttermilk?
-
Combine 1 cup regular milk with 1 tablespoon white vinegar and let stand for 5 minutes. This homemade substitute provides the necessary acidity for tender results.
- → Why does the recipe include both oil and butter?
-
Vegetable oil in the batter ensures exceptional moisture and tenderness, while butter in the frosting creates that classic creamy texture and rich flavor profile.