 Save
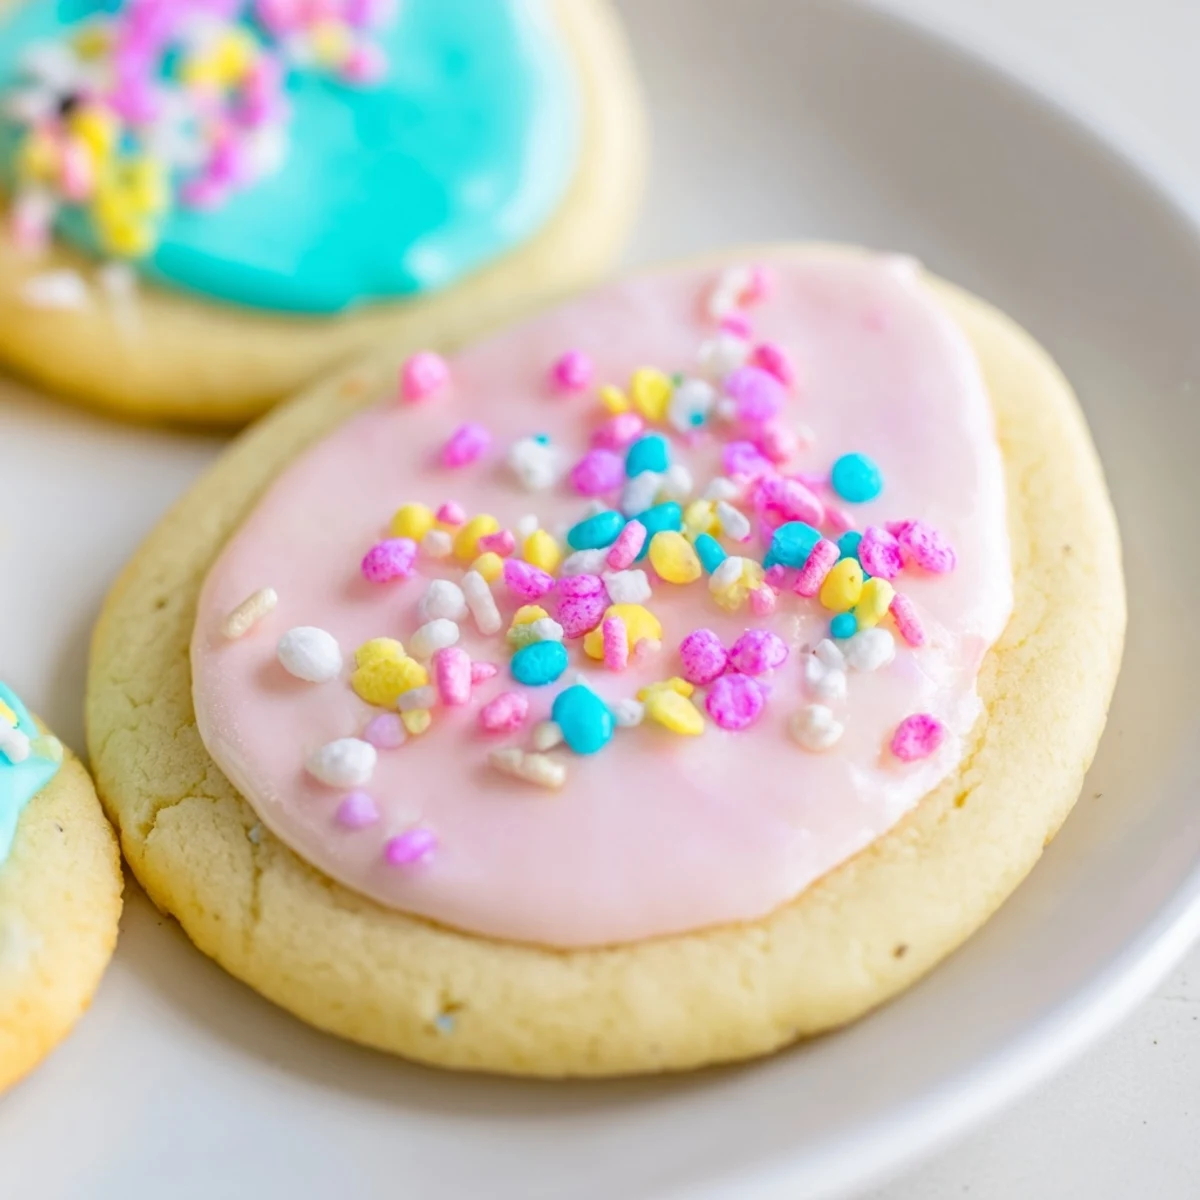
Save These delightful Easter treats start with a classic buttery sugar cookie dough that's soft, tender, and perfect for cutting into festive spring shapes. After a quick chill, roll out the dough and cut with Easter-themed cookie cutters like bunnies, eggs, and chicks. Bake until the edges are just set—about 10 minutes—then cool completely before decorating.
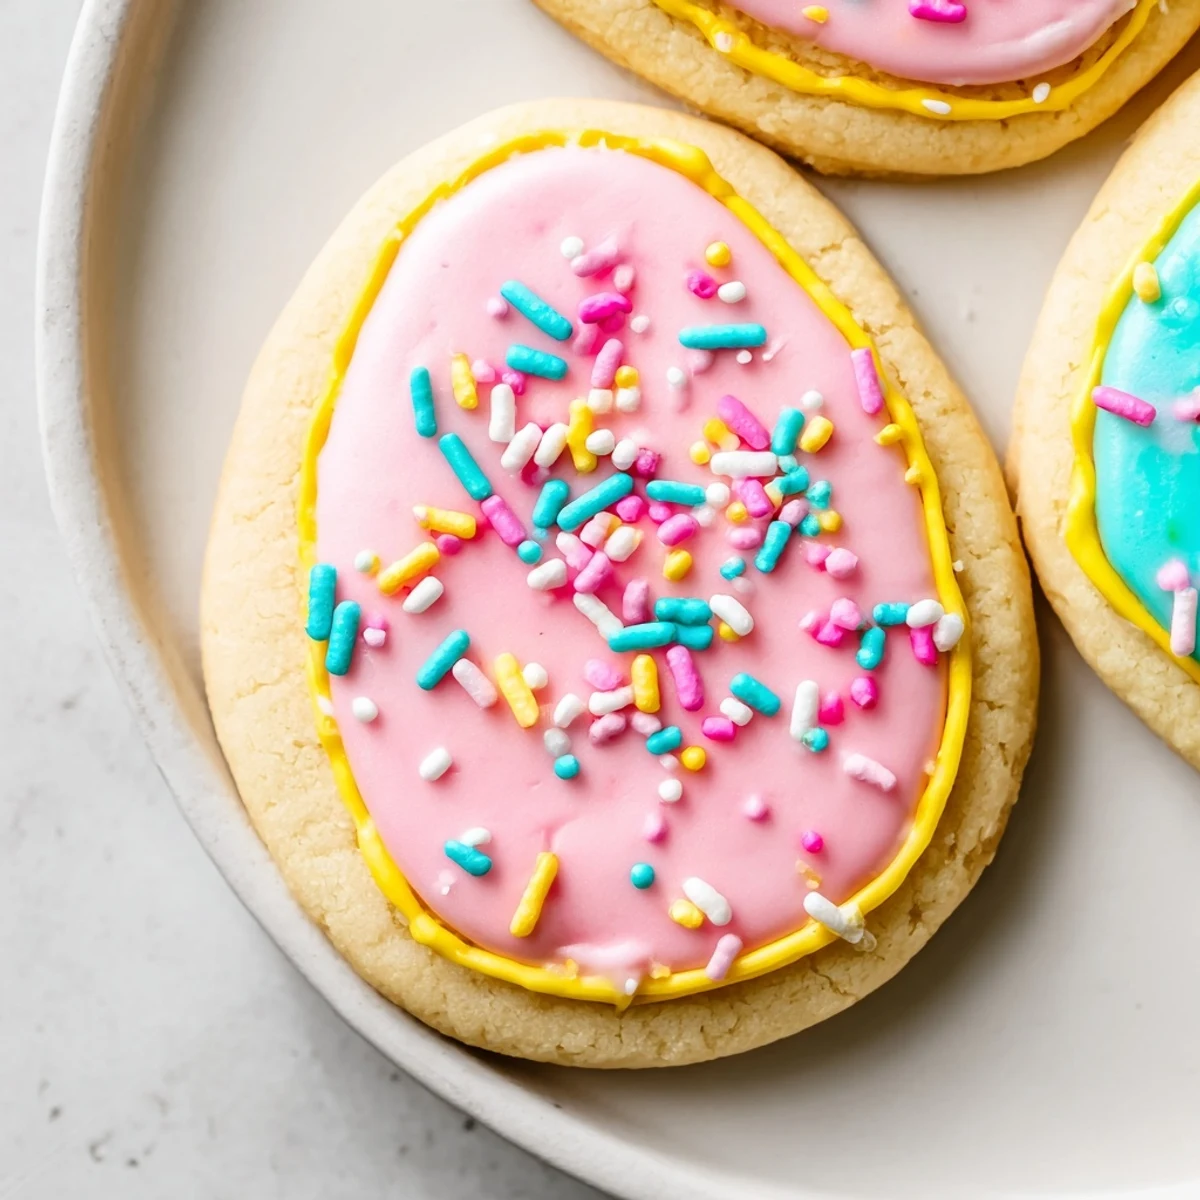
The royal icing glides on smoothly and dries to a beautiful finish, making these ideal for detailed decorating with pastel colors and sprinkles. Kids love helping decorate these cookies, making them a wonderful family activity during spring break or Easter weekend. The cookies stay fresh for up to a week, so you can make them ahead for gatherings, gift giving, or school celebrations.
Last spring my kitchen counter became a rainbow of pastel frosting bowls and Easter cookie cutters scattered like colorful confetti. My daughter decided every single cookie needed its own personality, which meant some bunnies ended up with surprise polka dots and flowers got unexpectedly ambitious stripes.
I still laugh remembering the year I made these for an Easter brunch and accidentally used too much pink gel coloring, turning an entire batch of bunny cookies into a shockingly vibrant neon shade. Nobody complained, but those bright pink rabbits definitely stood out on the dessert table.
Ingredients
- All purpose flour: Provides the structure for your cookies and gives them that classic sugar cookie texture we all love
- Baking powder: Just a touch helps the cookies keep their shape without spreading too much in the oven
- Salt: Balances the sweetness and brings out all the buttery flavors
- Unsalted butter: Room temperature butter creates that perfect creaminess and helps your cookies hold their shape when baked
- Granulated sugar: Sweetens the dough while giving the cookies a slightly crisp edge and soft center
- Egg: Binds everything together and adds richness to the dough
- Pure vanilla extract: Deepens the flavor profile and makes the kitchen smell absolutely incredible while baking
- Powdered sugar: Creates a smooth glossy icing that hardens beautifully for stacking and storing
- Milk or water: Adjust this to get your royal icing to the perfect consistency for outlining or flooding
- Light corn syrup: The secret ingredient that gives your icing that professional glossy finish and helps it set properly
- Vanilla or almond extract: Almond extract adds a lovely sophisticated note but vanilla keeps it classic and family friendly
- Food coloring: Gel colors work best for vibrant pastel shades without thinning out your icing
- Sprinkles and decorations: Add these while the icing is still wet so they stick perfectly and create that festive Easter look
Instructions
- Whisk the dry ingredients:
- In a medium bowl, combine flour, baking powder, and salt until well blended. Set aside while you prepare the wet ingredients.
- Cream the butter and sugar:
- Beat butter and sugar in a large bowl until light and fluffy, about 2 to 3 minutes. You will know it is ready when the mixture looks pale and feels silky smooth.
- Add the egg and vanilla:
- Beat in the egg and vanilla extract until everything is fully combined and the mixture looks glossy and creamy.
- Combine the dough:
- Gradually mix in the dry ingredients, stopping as soon as the flour disappears. Overmixing here will make your cookies tough, so gentle is the key.
- Chill the dough:
- Divide dough in half, shape into flat disks, wrap tightly, and refrigerate for at least 30 minutes. This step is crucial for cookies that keep their shape beautifully.
- Prep for baking:
- Preheat your oven to 350 degrees and line baking sheets with parchment paper. A warm oven helps the cookies bake evenly and prevents spreading.
- Roll and cut:
- Roll chilled dough to a quarter inch thickness on a floured surface. Cut out your Easter shapes and place them an inch apart on the prepared sheets.
- Bake to perfection:
- Bake for 8 to 10 minutes until the edges look set but the centers remain soft. Underbaked slightly is better than overbaked for that perfect texture.
- Cool completely:
- Let the cookies rest on the baking sheet for 5 minutes before moving them to a wire rack. They need to be completely cool before decorating or the icing will melt right off.
- Prepare the icing:
- Whisk together powdered sugar, milk, corn syrup, and extract until smooth. Adjust with more liquid for flooding or more sugar for piping consistency.
- Color and decorate:
- Divide icing into bowls and tint each with a drop of gel coloring. Decorate your cooled cookies and add sprinkles while the icing is still wet.
 Save
Save There is something magical about watching a room full of people decorate cookies together. Last year my sister created an entire Easter scene with rabbits, carrots, and tiny fence pieces, while my niece focused on making every single cookie sparkle with enough sprinkles to feed a small army.
Getting That Perfect Dough Consistency
If your dough feels too sticky even after chilling, dust your work surface and rolling pin generously with flour. I learned this after an afternoon of frustrated dough sticking to everything and cookies that lost their cute shapes before they even hit the oven.
Making Your Icing Work For You
Test your icing consistency on a plate before decorating the actual cookies. The perfect flooding icing should smooth back into itself within 15 seconds, while piping icing should hold a peak like soft serve ice cream.
Storage And Serving Tips
Once the icing is completely dry, stack these between layers of parchment paper in an airtight container. They actually taste better on day two when the flavors have had time to meld and the icing has firmed up beautifully.
- Let iced cookies sit uncovered overnight for the hardest finish
- Freeze undecorated dough disks for up to three months
- Layer decorated cookies with wax paper to prevent sticking
 Save
Save May your Easter be filled with colorful cookies, sticky fingers, and the kind of laughter that only happens when sprinkles are involved.
Frequently Asked Recipe Questions
- → How long should I chill the cookie dough?
-
Chill the dough for at least 30 minutes wrapped in plastic. This prevents the cookies from spreading too much while baking and makes the dough easier to roll out and cut into shapes.
- → Can I make the dough ahead of time?
-
Yes! You can refrigerate the dough for up to 3 days before baking, or freeze it for up to 3 months. Thaw frozen dough overnight in the refrigerator before rolling and baking.
- → What's the best way to store decorated cookies?
-
Once the royal icing has completely dried (about 4-6 hours or overnight), store cookies in an airtight container at room temperature for up to 1 week. Layer between wax paper to prevent sticking.
- → How do I get the right royal icing consistency?
-
Start with 1 1/2 tablespoons of liquid and add more as needed. The icing should flow slowly off a spoon but hold its shape when piped. Thinner icing works for flooding, while thicker icing is better for outlines and details.
- → Can I use different cookie cutter shapes?
-
Absolutely! While Easter-themed cutters are traditional, any shape works beautifully. These cookies are perfect for birthdays, holidays, or everyday treats—the buttery vanilla flavor pairs well with any occasion.
- → Why did my cookies spread too much?
-
This usually happens if the dough was too warm before baking. Make sure to chill the dough for the full 30 minutes, and work quickly when rolling and cutting. If your kitchen is warm, chill the cut shapes on the baking sheet for 10 minutes before baking.