 Save
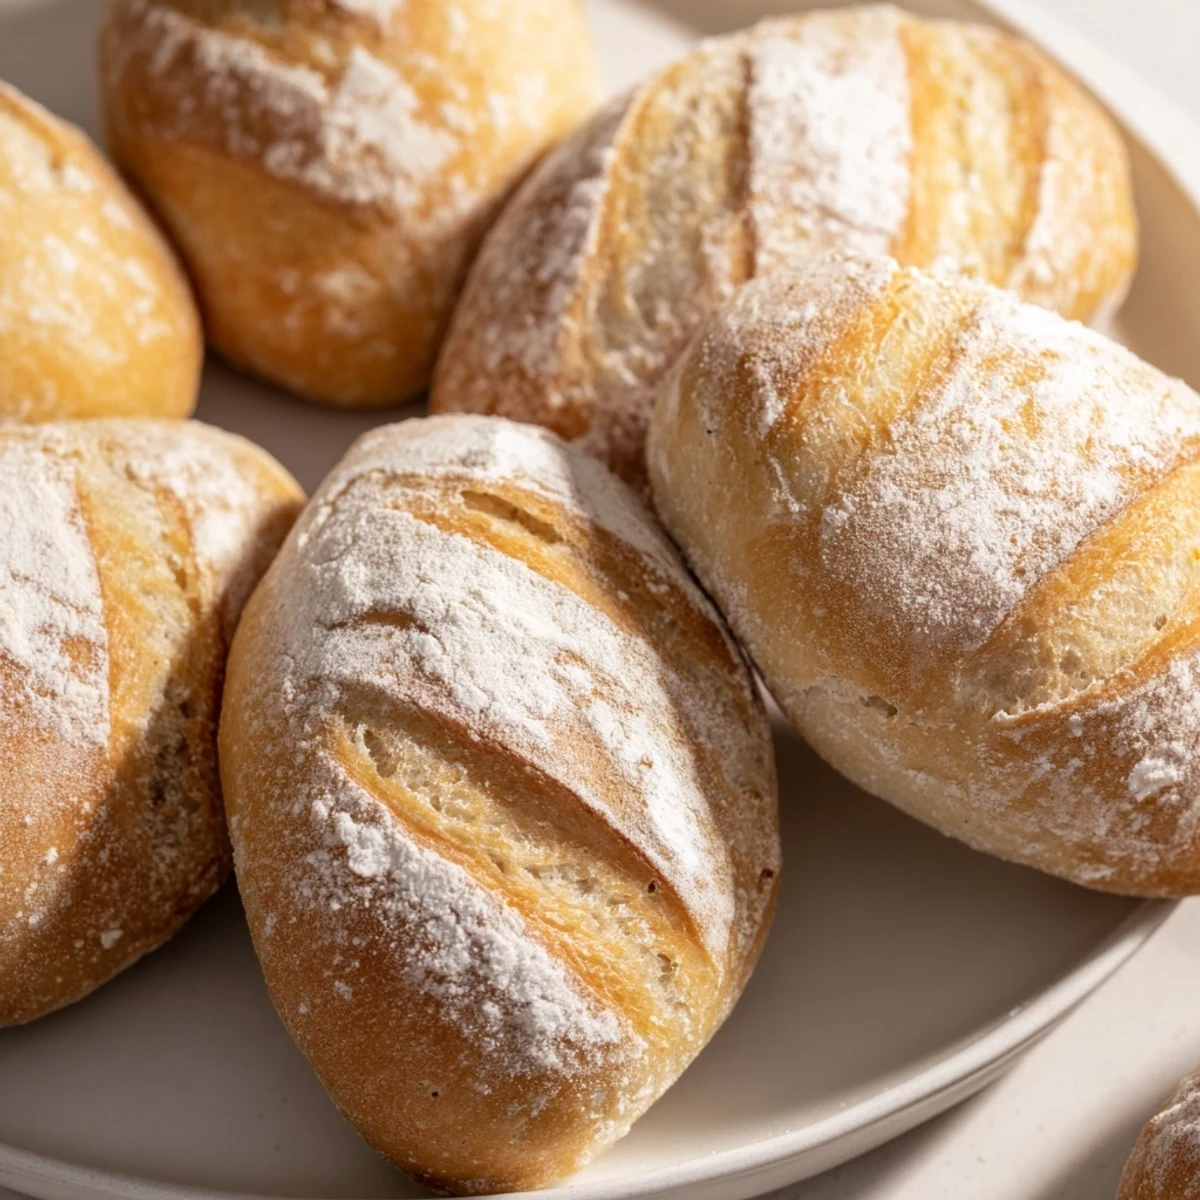
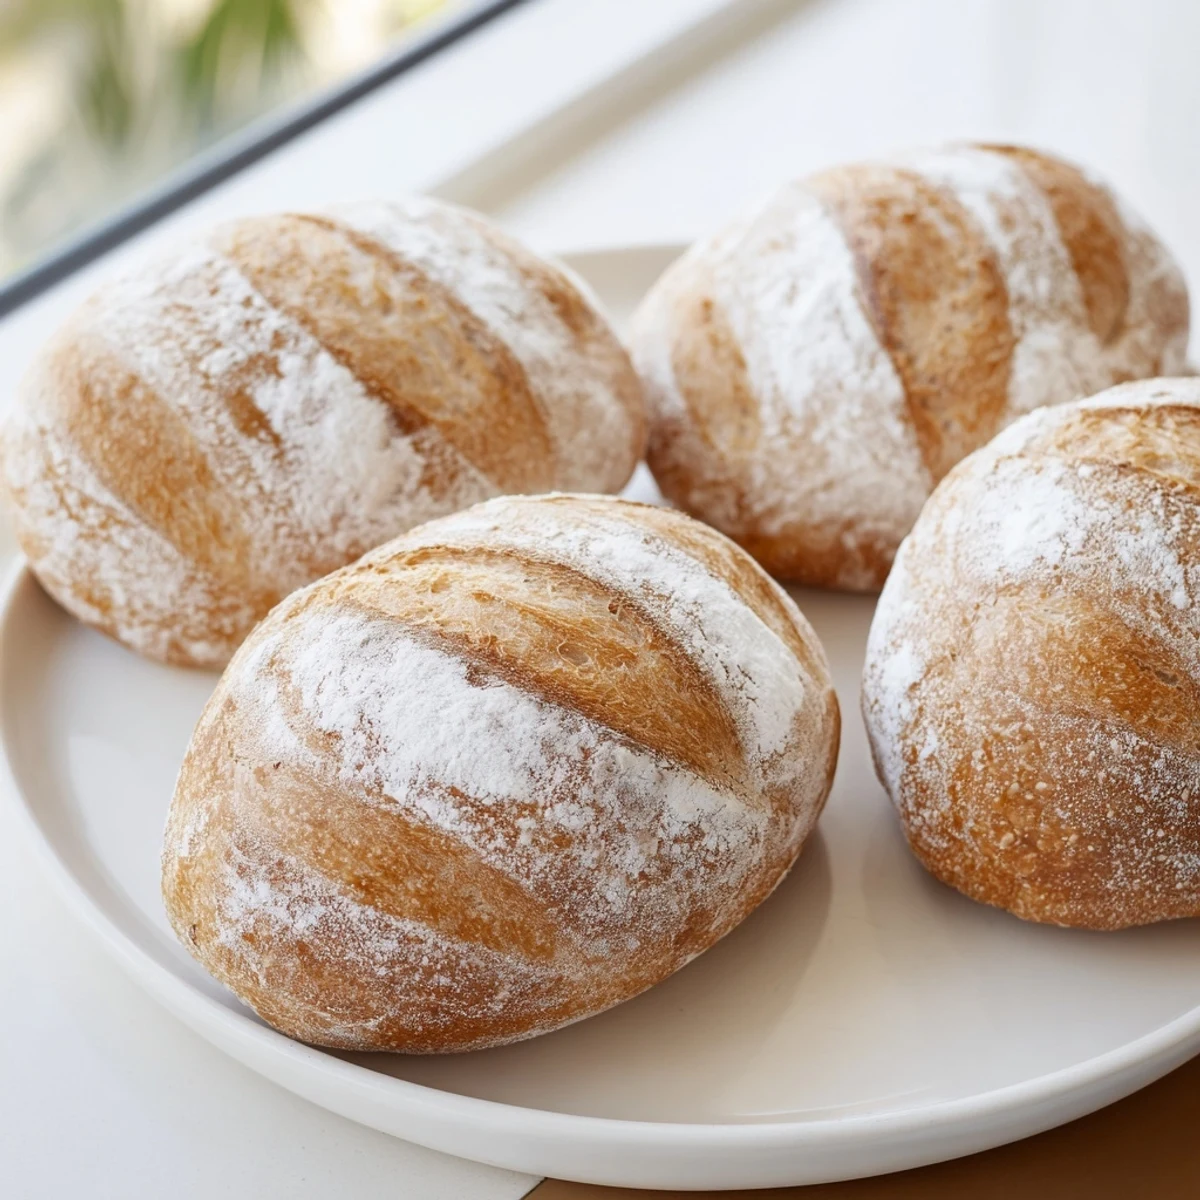
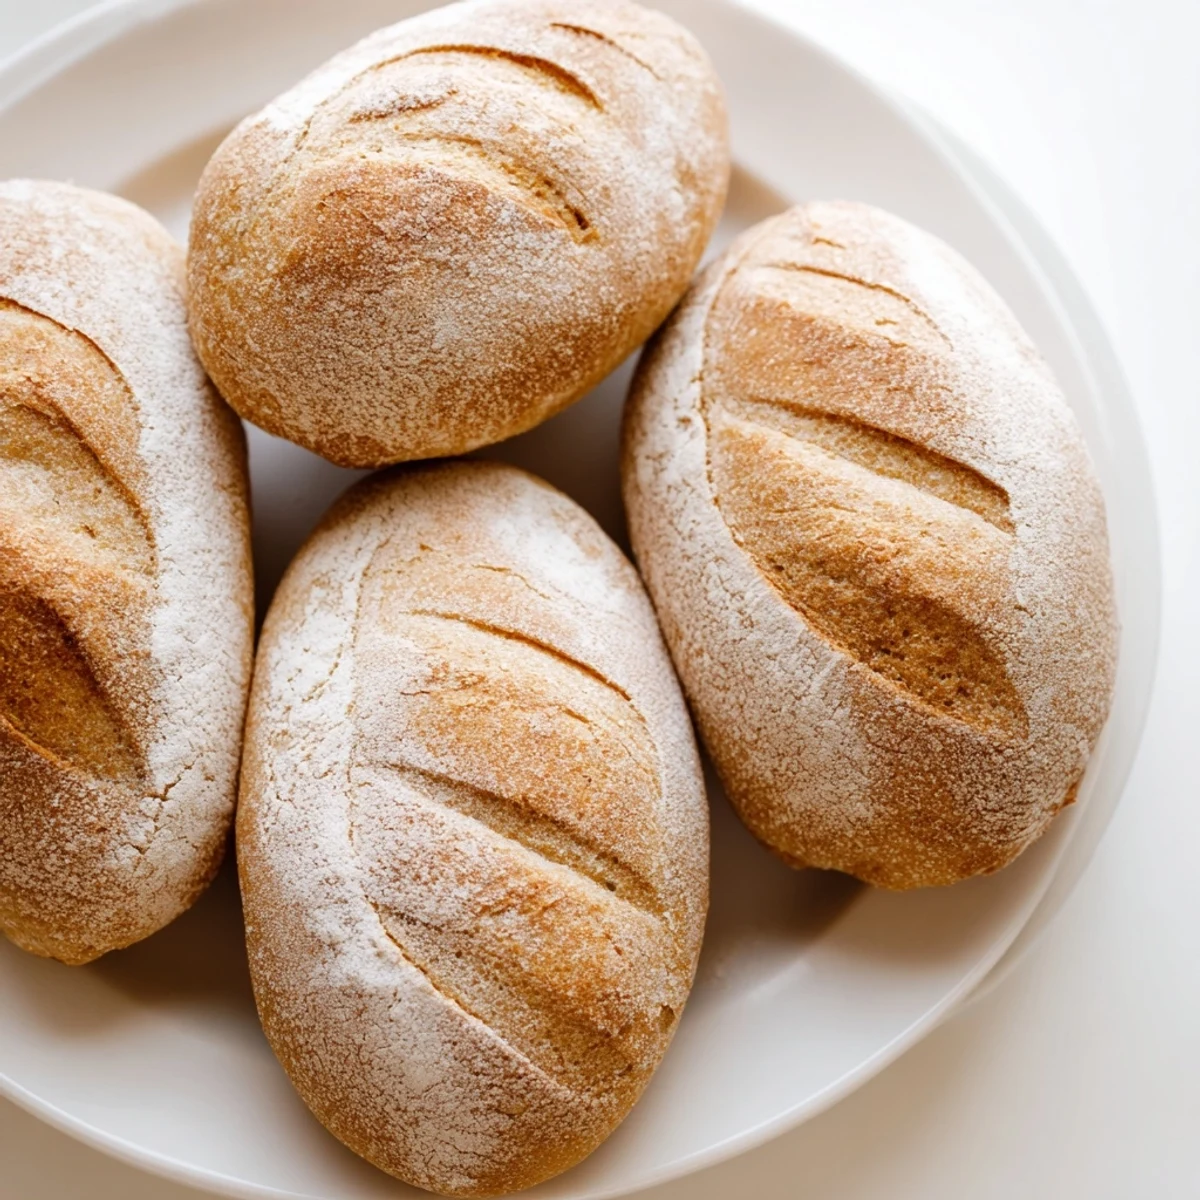
Save These classic French bread rolls deliver the perfect combination of a golden, crispy exterior with a tender, airy interior. The dough develops wonderful flavor through a simple fermentation process, while steam baking creates that signature crackly crust. Each homemade roll emerges from the oven with a beautiful golden-brown color and irresistible aroma. Ideal served warm with melting butter, alongside hearty soups and fresh salads, or sliced for sandwiches. The straightforward technique yields bakery-quality results right in your home kitchen.
The smell of baking bread has this way of stopping everyone in their tracks. I learned that the first time I made these French rolls, when my roommate actually abandoned her homework to stand by the oven door, watching them turn golden through the glass. Something about that crackling crust sound just pulls people into the kitchen like a magnet.
Last winter, during a particularly gloomy stretch of gray Sundays, these rolls became my weekend ritual. The kneading process became strangely meditative, and there was something so satisfying about turning five basic ingredients into something that made the whole house feel warm and alive.
Ingredients
- Bread flour: The higher protein content here is what gives these rolls their satisfying chew and structure
- Lukewarm water: Think bathwater temperature, any hotter and you risk killing the yeast before it even gets started
- Active dry yeast: This tiny organism does all the heavy lifting, so give it the time it needs to work properly
- Salt: Essential for flavor and also helps strengthen the gluten structure
- Sugar: Just enough to feed the yeast and help with browning
Instructions
- Wake up the yeast:
- Combine the lukewarm water, sugar, and yeast in your largest bowl. Let it sit until you see a layer of foam on top, that is how you know your yeast is alive and ready to work.
- Build the dough:
- Add the flour and salt to the yeast mixture, stirring until everything comes together. Turn it out onto a clean surface and knead for about ten minutes until the dough feels smooth and bounces back when you poke it.
- Let it rise:
- Place your dough in a bowl that has been lightly greased, cover it with a damp cloth, and find the warmest spot in your kitchen. Wait an hour until it has doubled in size.
- Shape your rolls:
- Punch down the risen dough gently, then divide it into eight equal pieces. Shape each piece into a smooth ball, tucking the edges underneath to create tension on the surface.
- Second rise:
- Arrange the rolls on a parchment lined baking sheet, leaving room between them for expansion. Cover and let them rest for another thirty to forty minutes.
- Create the steam:
- Preheat your oven to its highest setting and place a tray of water on the bottom rack. This steam is what gives your rolls that gorgeous, crackly crust.
- Score and bake:
- Dust the tops with a little flour and use a sharp knife to make shallow slashes in each roll. Bake for twenty to twenty five minutes until they are deep golden brown and sound hollow when tapped.
 Save
Save My grandmother always said you could tell a good bread by the sound it makes when it cools. There is this gentle crackling symphony that happens as the crust settles, and she would sit at the kitchen table just listening, like it was music.
Getting The Perfect Rise
Dough needs warmth and patience. If your kitchen runs cold, I have found that turning the oven light on and placing the bowl inside with the door cracked creates a perfectly cozy proofing environment.
Mastering The Slash
Use your sharpest knife and make confident, quick cuts at a slight angle. Hesitating will tear the dough, but a swift motion gives you those beautiful bakery style openings that make the rolls look professional.
Serving Ideas
These rolls are incredibly versatile. They transform a simple soup into a restaurant quality meal and make the most memorable sandwiches. The texture holds up beautifully to hearty fillings.
- Try them with salted butter while still slightly warm
- Use day old rolls to make exceptional croutons or breadcrumbs
- Split and toast them for garlic bread that will ruin you for the frozen kind forever
 Save
Save There is nothing quite like pulling a tray of these from the oven and watching people is faces light up. Homemade bread has this way of making any meal feel like a special occasion.
Frequently Asked Recipe Questions
- → What makes these rolls crusty?
-
The steam created by placing a water tray in the bottom rack of the oven generates moisture that helps develop a crispy, crackly crust on the exterior while keeping the inside tender and soft.
- → Can I use all-purpose flour instead of bread flour?
-
Bread flour works best due to its higher protein content, which creates stronger gluten for better structure and chewiness. All-purpose flour can be used but may yield slightly less chewy results.
- → Why is there sugar in the dough?
-
A small amount of sugar helps feed the yeast and promotes better fermentation, resulting in faster rising and subtly enhanced flavor development in the finished rolls.
- → How should I store leftover rolls?
-
Store cooled rolls in an airtight bag at room temperature for up to 2 days. For longer storage, freeze them in freezer bags and reheat in a 350°F oven for 5-10 minutes to restore crispness.
- → Can I make these rolls ahead of time?
-
Yes, you can prepare the dough through the first rise, then refrigerate overnight. Bring to room temperature the next day before shaping and baking for fresh rolls whenever needed.
- → What can I use instead of water in the dough?
-
Replace some or all of the water with warm milk for richer flavor and softer texture, or use beer for added depth and a darker crust color.