 Save
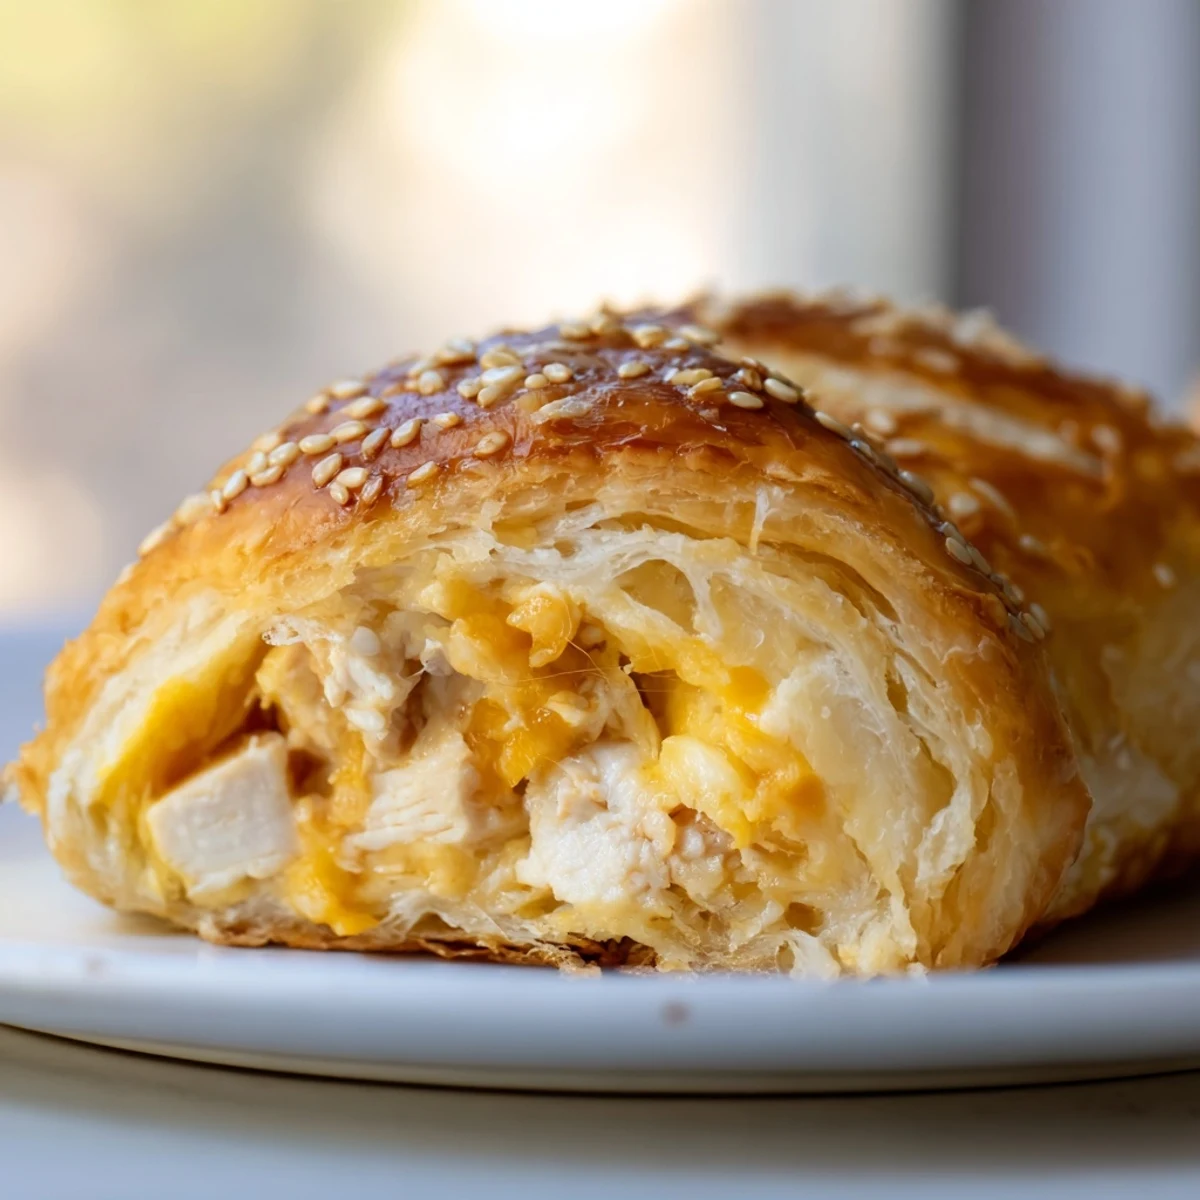
Save These warm handheld pockets combine tender cooked chicken with creamy cheese filling, all wrapped in golden flaky pastry. The mixture blends shredded chicken breast with softened cream cheese, sharp cheddar, and just enough mayonnaise for richness. Aromatic garlic and onion powder add depth while green onions bring fresh brightness.
The dough bakes up beautifully crisp in 25 minutes, creating that irresistible contrast between crunchy exterior and tender, cheesy interior. They're ideal for busy weeknights, school lunches, or casual gatherings. Serve alongside a crisp green salad or offer dipping sauces like ranch and honey mustard for extra fun.
The smell of buttery pastry baking still pulls me back to Tuesday nights when my kids would actually hover around the kitchen instead of their screens. I started making these cheesy chicken pockets on a whim when rotisserie chicken was on sale and crescent dough happened to be in the fridge.
My sister called me mid-bite once demanding the recipe because her picky eater had asked for seconds. That never happens with anything I make. Now these pockets show up at every birthday party and potluck because they disappear faster than I can serve them.
Ingredients
- 2 cups cooked chicken breast: Rotisserie chicken works beautifully here and saves so much time on busy days
- 1/2 cup cream cheese: Use this straight from the fridge for 20 minutes so it blends smoothly into the filling
- 1 cup shredded cheddar cheese: Sharp cheddar gives you the best flavor punch against the mild chicken
- 1/4 cup mayonnaise: This secret ingredient keeps everything creamy and prevents the filling from drying out
- 2 tablespoons green onions: Slice these right before mixing so they stay fresh and crunchy
- 1/2 teaspoon garlic powder and onion powder: This duo builds that savory flavor foundation without chopping fresh aromatics
- 1/4 teaspoon salt and black pepper: Taste your filling before wrapping since some cooked chicken is already salted
- 1 package refrigerated crescent roll dough: Keep this cold until the moment you use it or it becomes frustratingly sticky
- 1 egg beaten: This wash gives you that gorgeous bakery style shine on top
- 1 tablespoon sesame or poppy seeds: Totally optional but makes these look like you bought them from a fancy bakery
Instructions
- Preheat and prep your baking station:
- Crank your oven to 375°F and line a baking sheet with parchment paper because cheese will inevitably bubble out and you will thank yourself later
- Mix up the filling:
- Grab a mixing bowl and dump in the chicken, cream cheese, cheddar, mayonnaise, green onions, both powders, salt, and pepper then mash everything together until it forms this creamy, cohesive mixture
- Divide your dough:
- Roll out that crescent dough and either keep it as 8 triangles or press the perforations together to make 4 larger squares depending on how hungry everyone is
- Fill and fold:
- Plop a generous scoop of chicken mixture right in the center of each piece then fold the dough over and pinch those edges like your life depends on it because leaked out filling is a tragedy
- Add the finishing touches:
- Arrange your pockets on the baking sheet, brush them with that beaten egg, and scatter the seeds over the top if you want that extra crunch and visual appeal
- Bake until golden:
- Slide these into the oven for 20 to 25 minutes until they are deeply golden brown and you can see cheese bubbling through any small openings
- The hardest part:
- Let them cool for exactly 5 minutes because the filling inside will be molten lava hot and nobody needs a burned roof of mouth situation
 Save
Save These pockets became a Christmas Eve tradition after my niece announced they were better than the fancy appetizers I used to spend hours making. Sometimes the simplest food hits the hardest.
Make Ahead Magic
I have assembled these pockets hours before baking and kept them covered in the fridge. The dough puffs up slightly less but the convenience is worth it for parties.
Freezing For Later
Wrap unbaked pockets individually in plastic wrap then freeze them on a baking sheet before transferring to a bag. Bake from frozen adding about 10 extra minutes.
Serving Suggestions
A crisp green salad cuts through all that richness perfectly. I also love setting out small bowls of ranch dressing, honey mustard, and hot sauce for dipping.
- Cooked bacon pieces folded into the filling make these even more irresistible
- Sautéed mushrooms add a meaty texture without much effort
- Turkey works just as well if that is what you have on hand
 Save
Save These pockets freeze beautifully unbaked so I always keep a batch tucked away for emergency weeknight dinners.
Frequently Asked Recipe Questions
- → Can I make these pockets ahead of time?
-
Yes, assemble the pockets up to 24 hours in advance and refrigerate unbaked. Add 2-3 minutes to the baking time if baking cold. You can also freeze assembled unbaked pockets for up to 3 months—bake from frozen, adding about 10 minutes to the cooking time.
- → What other cheeses work well in the filling?
-
Sharp cheddar provides the best flavor punch, but you can substitute or add pepper jack for heat, gruyère for nuttiness, or Monterey jack for mild creaminess. A mix of cheddar and mozzarella creates that perfect stretchy cheese pull when you bite into the hot pocket.
- → Can I use leftover rotisserie chicken?
-
Absolutely—rotisserie chicken works perfectly and adds extra flavor. Simply shred or dice the meat, removing skin and bones. The seasoned meat from store-bought rotisserie chicken actually enhances the overall taste profile and saves significant prep time.
- → Is puff pastry better than crescent roll dough?
-
Both yield delicious results. Crescent dough creates a lighter, slightly sweeter pastry with tender layers. Puff pastry produces an ultra-flaky, buttery exterior that feels more gourmet. Choose based on preference and availability—puff pastry typically needs a few extra minutes to bake through completely.
- → How do I prevent the filling from leaking during baking?
-
Ensure edges are pinched firmly together, crimping with a fork if needed. Don't overfill—leave about a half-inch border around the edges. Place the sealed side down on the baking sheet. The egg wash also helps seal the edges by creating a slight barrier as it bakes.